
Did you know that nearly one in three homeowners who attempt a major renovation without professional guidance end up spending significantly more than planned? This is especially true for complex projects that involve plumbing, electrical work, and intricate design choices.
We understand that transforming a space in your home is a big decision. It’s more than just picking out new fixtures; it’s about creating a sanctuary that reflects your style and meets your daily needs. The journey can feel overwhelming with so many choices and potential pitfalls.
Our team is here to change that experience. With decades of combined knowledge, we guide you through every step. We help you make smart decisions about layout, materials, and features. Our goal is to turn your vision into a beautiful, functional reality without the stress.
You can reach us at +1 (703) 293-5583 or info@wellcraftkitchens.com. We are located at 23465 Rock Haven Way, Suite 125 Sterling, VA 20166. We welcome appointment-only visits Monday through Saturday from 9 AM to 5 PM.
Contents
- 1 Understanding Your Bathroom Remodeling Vision
- 2 Innovative Design Ideas and Feature Selection
- 3 Detailed Planning & Budget Considerations
- 4 Expert bathroom remodeling: Crafting Style and Functionality
- 5 Scheduling Your In-Home Consultation and Service Details
- 6 Conclusion
- 7 FAQ
- 7.1 How long does a typical bath remodel take from start to finish?
- 7.2 What financing options do you offer for home improvement projects?
- 7.3 Do you handle the installation of walk-in tubs and grab bars?
- 7.4 How do we get started with our project?
- 7.5 What sets your remodeling contractors apart from other companies?
- 7.6 Can you work with the existing layout of our house, or do we need to change it?
Key Takeaways
- Professional guidance is crucial to avoid unexpected costs and complications during a renovation.
- A well-executed project transforms a functional area into a personalized sanctuary.
- Expert teams help navigate complex decisions about layout, materials, and fixtures.
- The right partner makes the entire process smooth, enjoyable, and stress-free.
- Successful outcomes start with a clear understanding of your goals and lifestyle needs.
- Quality craftsmanship and attention to detail ensure a final result you will love.
Understanding Your Bathroom Remodeling Vision
Every successful transformation begins with a clear vision of what you want to achieve. We believe the planning phase is the most important step in creating a space that truly reflects your personality and meets your daily requirements.

Defining Your Goals and Style Preferences
Our process starts with a detailed conversation about your aspirations. We explore how you currently use the space and what improvements would make the biggest impact on your routine. Whether you prefer traditional elegance or contemporary sophistication, we help clarify your aesthetic preferences.
We take precise measurements and discuss layout possibilities. This helps us understand what modifications can enhance both functionality and visual appeal. Your input guides every decision from the beginning.
Setting Realistic Budgets and Timelines
Financial planning is crucial for a smooth project experience. We work with you to establish a budget that aligns with your goals while maximizing value. Our transparent approach ensures you understand where your investment goes.
We also discuss timeline considerations upfront. Different material choices and structural changes can affect the schedule. This helps you plan accordingly and sets realistic expectations for the entire process.
By thoroughly understanding your vision first, we ensure every design choice serves your ultimate goal. This collaborative approach creates a space you’ll love for years to come.
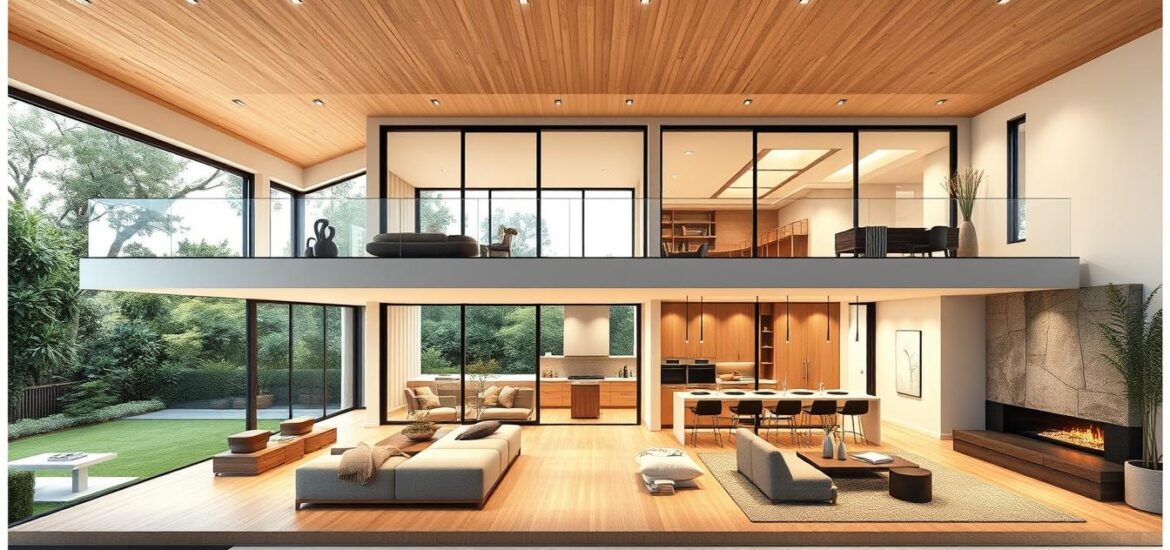
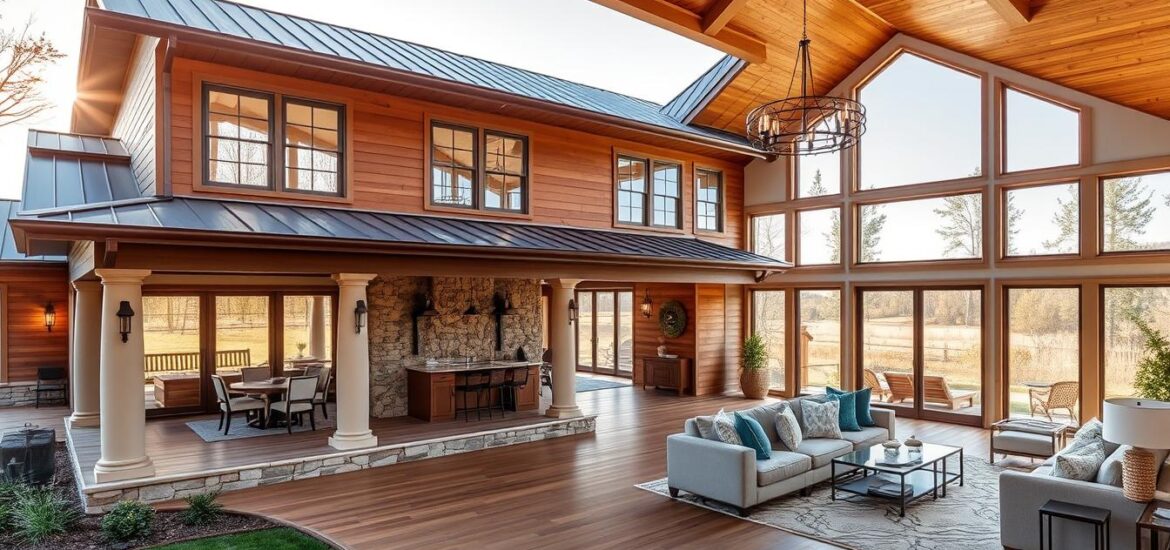
Innovative Design Ideas and Feature Selection
Selecting the perfect features and finishes transforms a basic layout into a reflection of your unique taste. This creative phase is all about bringing personality and function together.
Exploring Material and Fixture Options
We present an extensive range of materials and fixtures. You can choose from elegant natural stone countertops or durable composite options.
For your shower and tub, we offer various configurations. Luxurious freestanding tubs and modern walk-in shower designs are popular options.

Incorporating Modern Trends and Custom Details
Contemporary design often includes frameless glass enclosures and matte black fixtures. These elements create a sleek, upscale look.
We help you select finishing touches that complete the aesthetic. Coordinated hardware and practical accessories add the final layer of style.
| Feature Category | Popular Options | Key Benefit |
|---|---|---|
| Flooring | Waterproof Vinyl Plank | Exceptional moisture resistance |
| Countertops | Quartz, Granite | Durability and easy maintenance |
| Lighting | Statement Fixtures | Enhanced ambiance and functionality |
Every choice should enhance both beauty and practical use. The right combination of innovative ideas and quality materials creates a space you’ll love.
Detailed Planning & Budget Considerations
Before the first tile is laid or fixture installed, careful planning ensures your investment delivers maximum value. We approach this phase with meticulous attention because proper preparation prevents problems down the line.

Measurements, Layout Adjustments, and Functional Needs
Our team begins with comprehensive measurements of your existing space. We document every dimension to create an accurate foundation for your renovation plan. This precision helps us understand what’s possible within your square footage.
We discuss layout adjustments openly, explaining how different configurations affect both functionality and costs. Whether you’re considering moving plumbing or removing walls, we provide clear information about timeline and budget implications.
Functionality sits at the heart of good design. We work with you to identify specific needs like improved storage or better traffic flow. Understanding these requirements helps us create a space that works perfectly for your household.
Transparency guides our budget discussions. We provide detailed breakdowns showing exactly how your investment gets allocated. Our written proposals outline every aspect of work in clear form, ensuring no surprises arise during your bathroom remodeling project.
By considering all functional needs and financial parameters from the start, we help create a realistic plan. This approach delivers the bathroom you want without compromising your house’s integrity or causing financial stress.
Expert bathroom remodeling: Crafting Style and Functionality
Professional credentials and quality materials form the foundation of any successful home improvement. Our approach combines technical expertise with creative vision to deliver spaces that work beautifully for your lifestyle.
Selecting Licensed Professionals and Quality Materials
We take pride in being fully licensed and insured bathroom remodeling contractors. Our team brings decades of collective experience to every project we undertake.
We source premium materials from trusted suppliers to ensure lasting quality. Every component meets our high standards for both beauty and durability.

Our craftsmanship guarantee provides peace of mind throughout your bath remodel. We maintain clean worksites and clear communication from start to finish.
Phased Remodeling and Financing Options
We understand that major renovations can feel overwhelming. That’s why we offer phased bathroom remodeling options for greater flexibility.
You can choose to update your shower or tub area first, then complete the rest later. This approach makes decision-making easier and reduces construction time.
We provide various financing options to fit different budgets. Our flexible payment plans help make your dream space more accessible.
Contact us at +1 (703) 293-5583 or info@wellcraftkitchens.com to discuss your project. Let us show you how our expertise can transform your space with style and functionality.
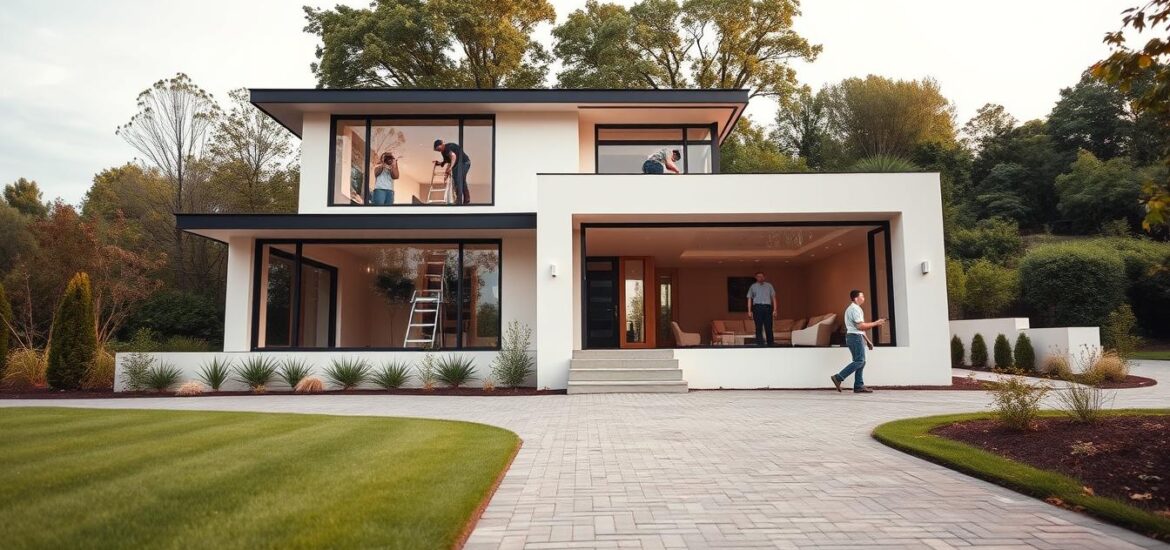
Scheduling Your In-Home Consultation and Service Details
Ready to take the first step toward your dream space? Our consultation process is designed to be simple and informative. We’re excited to meet you and discuss how we can transform your space into the beautiful, functional area you’ve been imagining.

Contacting Us: Phone, Email, and Appointment-Only Visits
Scheduling your in-home consultation is easy and convenient. Simply call us at +1 (703) 293-5583, email info@wellcraftkitchens.com, or use our online form to request free consultation.
One thing that sets our company apart is our commitment to personalized service. We operate by appointment only to ensure every customer receives our undivided attention. This approach allows us the time needed to thoroughly discuss your project from start to finish.
Visit Our Office at 23465 Rock Haven Way, Suite 125 Sterling, VA 20166
Our office is conveniently located at 23465 Rock Haven Way, Suite 125 Sterling, VA 20166. You’re welcome to visit us and explore design options in a comfortable setting that showcases various materials and fixtures.
We’re open Monday through Saturday from 9:00 AM to 5:00 PM, and closed on Sundays. This gives you flexibility throughout the week to schedule your appointment at a time that works best for your schedule.
During your consultation, our team will discuss your vision, assess your current space, and explore options that align with your style preferences and functional needs. We believe great customer service means being accessible and responsive to your unique situation.
Conclusion
Creating the perfect sanctuary requires balancing aesthetic appeal with everyday functionality. Your bathroom remodel represents more than just a home improvement project—it’s an investment in your daily comfort and property value for years to come.
We understand that every customer has unique needs and vision. Our company focuses on delivering work that combines beautiful design with practical functionality. This ensures your new space will look stunning while serving your daily routines perfectly.
In addition to comprehensive bathroom remodeling services, we specialize in custom features like luxurious shower installations. The things that matter most are your satisfaction and the quality of our craftsmanship.
Ready to begin your transformation? Contact us at +1 (703) 293-5583 or info@wellcraftkitchens.com. Let’s work together to create a space you’ll love for years to come.
FAQ
What financing options do you offer for home improvement projects?
We offer wide and flexible financing options to help make your dream project a reality. We can discuss various plans during your in-home consultation to find one that fits your budget.
Do you handle the installation of walk-in tubs and grab bars?
Absolutely. Our team is experienced in installing safety features like walk-in tubs and grab bars. We ensure they are integrated seamlessly into your new design for both safety and style.
How do we get started with our project?
It's easy! You can contact us by phone or email to schedule a free, no-obligation in-home consultation. We'll discuss your vision, needs, and budget to create a personalized plan.
What sets your remodeling contractors apart from other companies?
Our team of licensed professionals focuses on a collaborative approach. We listen to your ideas, provide expert guidance, and use high-quality materials to ensure a final result that exceeds your expectations. We take pride in doing a great job.
Can you work with the existing layout of our house, or do we need to change it?
We can absolutely work with your current layout! Many projects involve refreshing the space. If you're looking to improve functionality, we can also explore layout adjustments during the design phase.