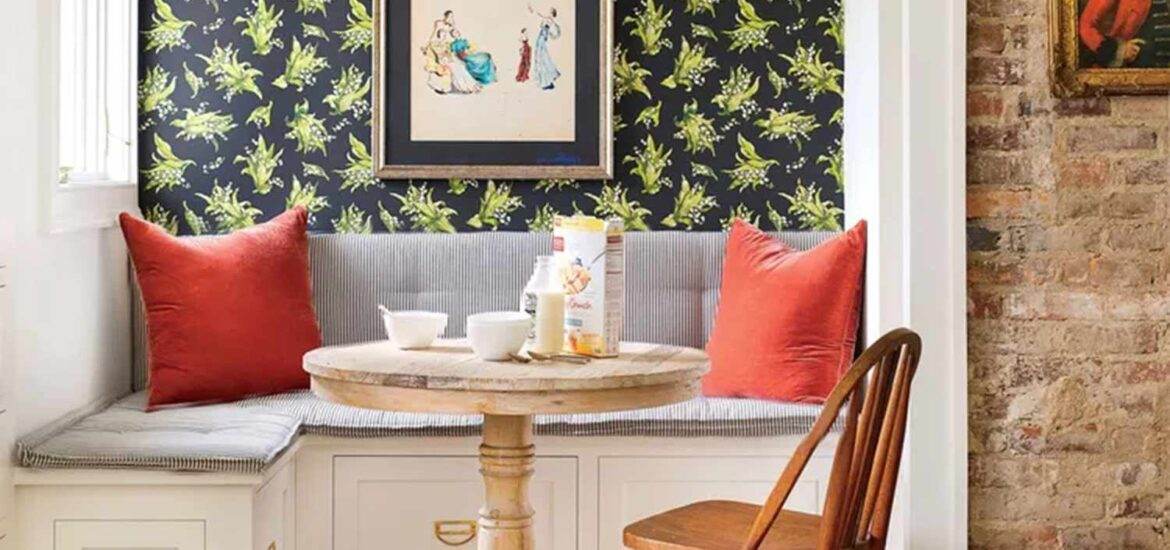
A dining room nook bench is a cozy and inviting seating solution that can transform an unused corner or awkward space into a functional and stylish dining area. At Wellcraft…
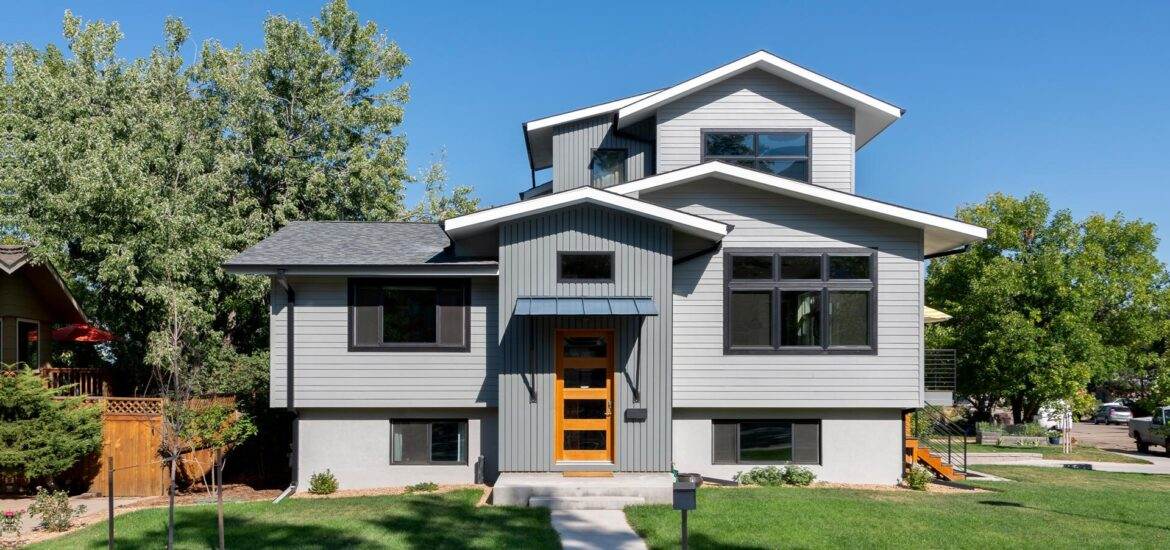
If you happen to have a split level home, from the 1970s you might be considering giving it a makeover. These distinct homes, known for their floor levels were quite…
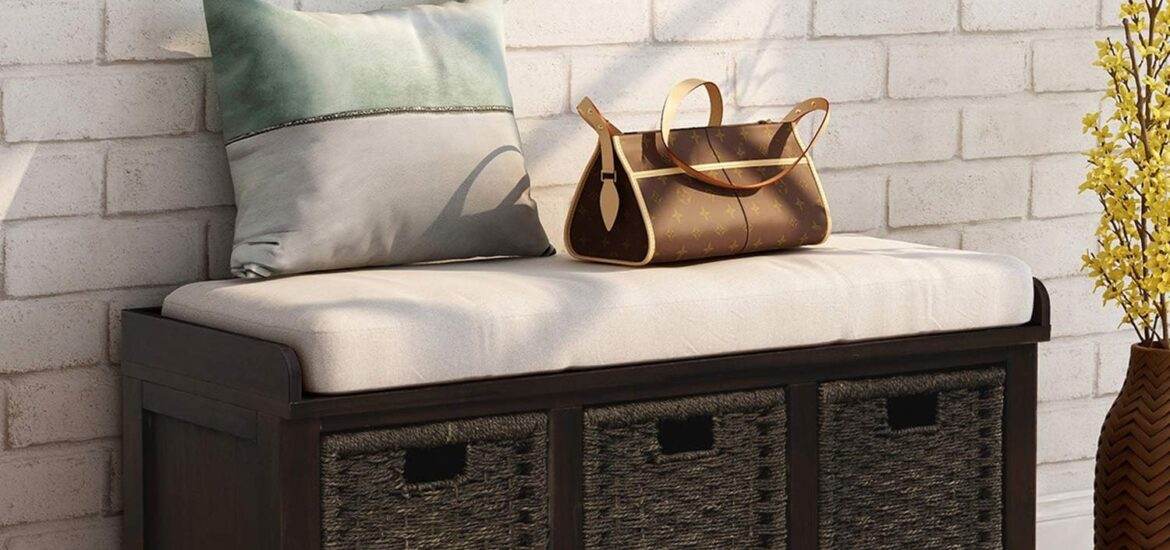
If you’re looking to maximize space and functionality in your entryway, a small mudroom bench with storage is the perfect solution. Even if your space is limited adding a crafted…
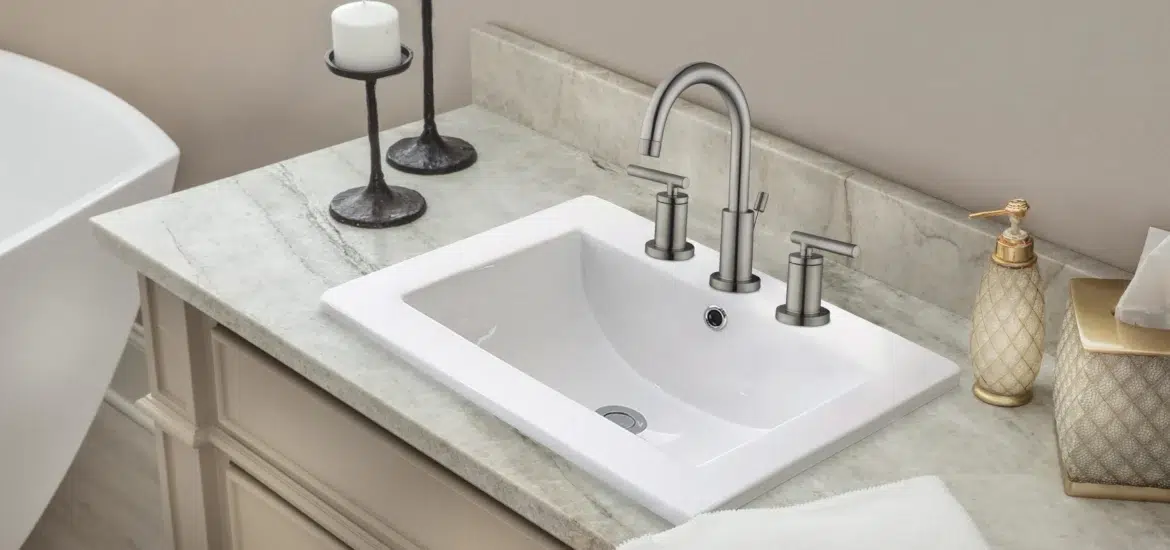
If you’re in the market for a new bathroom sink, you’ve probably come across the terms “undermount” and “drop-in” sinks. While undermount sinks have become increasingly popular in recent years…
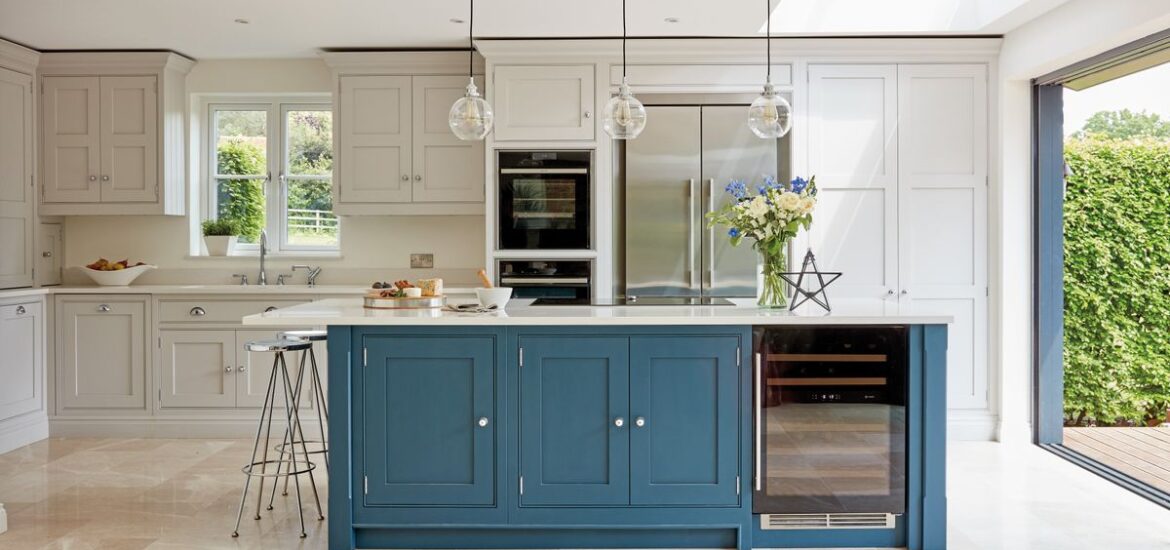
When planning your kitchen you’ll encounter a myriad of choices to consider. One common dilemma that arises is whether the kitchen island should have a darker hue compared to the…