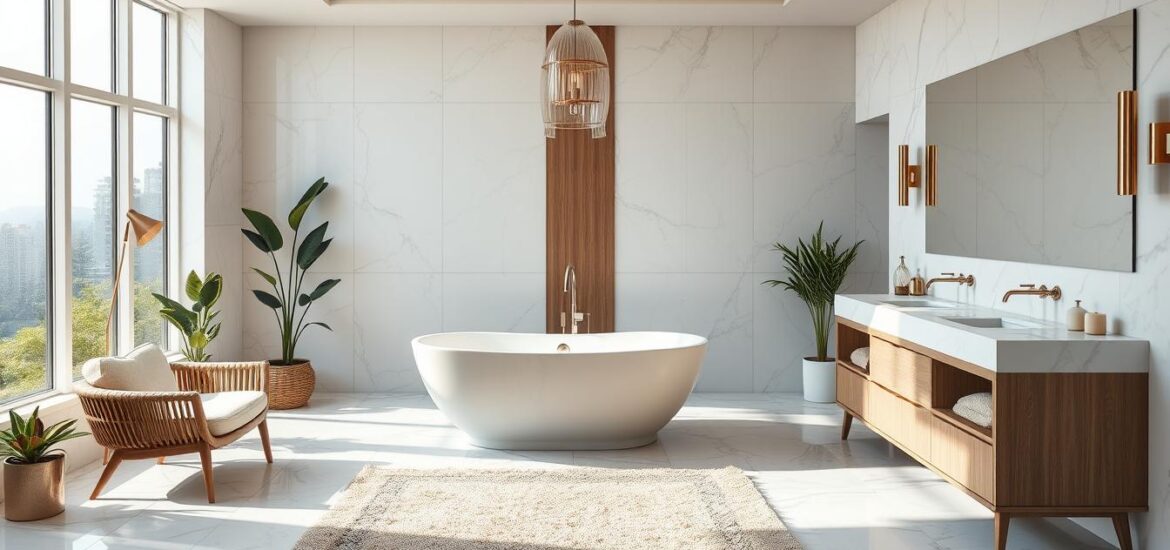
Have you ever stepped into a room and immediately felt a sense of calm? That’s the power of a space designed with intention. We believe your home should be your…
Remember that feeling when you step into a space that feels perfectly yours? That moment of calm before your day begins, or the peaceful retreat at night? We understand how…
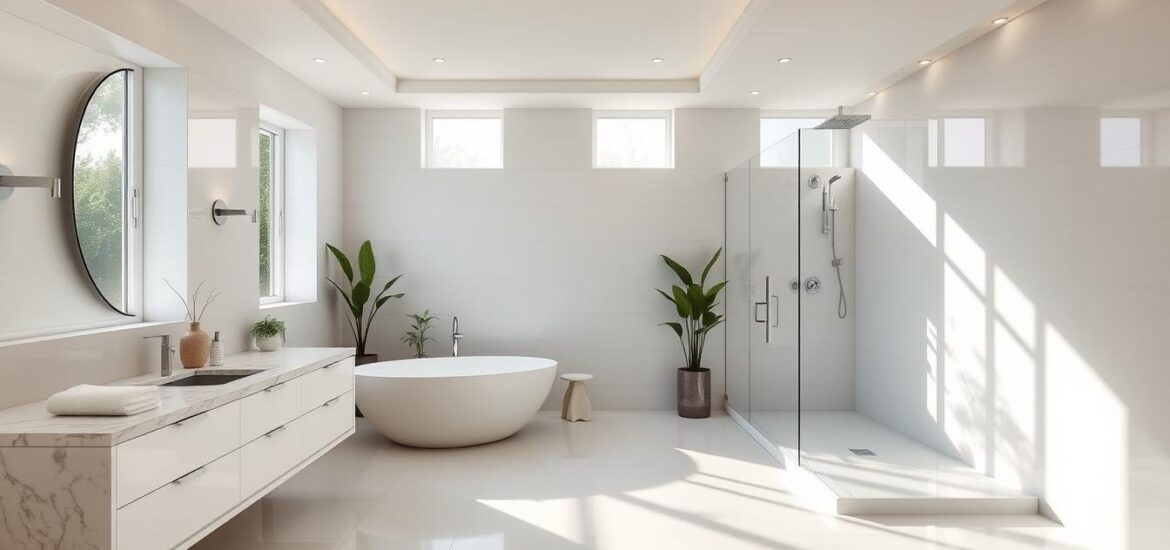
Your home is your sanctuary, and the room where you start and end each day should feel just as special. We understand that an outdated or inefficient space can be…
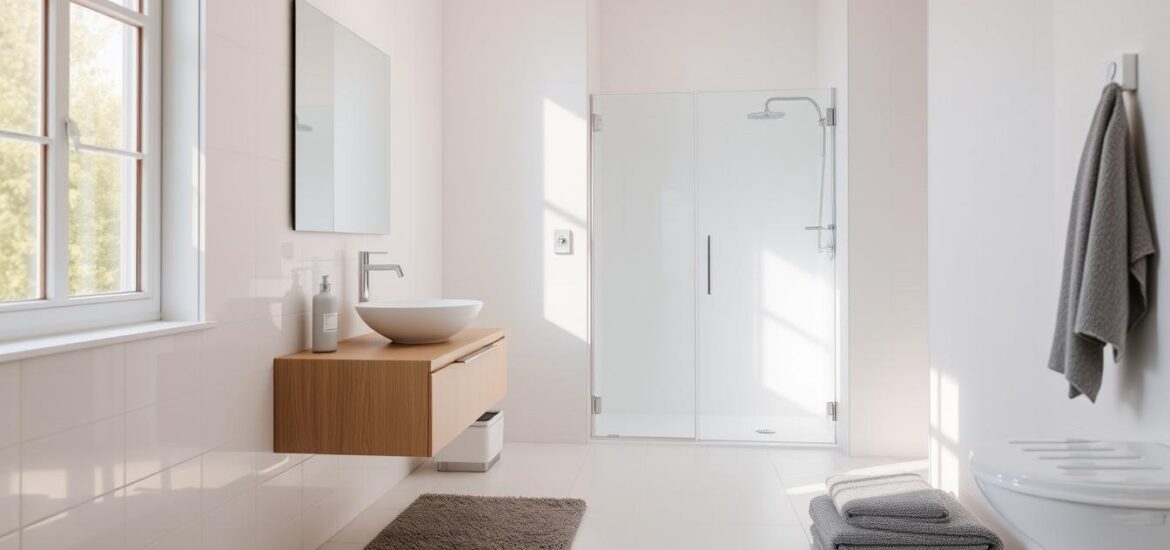
At Wellcraft Kitchens, we turn this statistic upside down. Our team blends innovative design with precision engineering to create spaces that stay fresh for decades. Imagine adding a sunlit family…
Did you know 73% of homeowners report increased daily satisfaction after upgrading their bathrooms? This surprising statistic reveals how a well-designed space can transform not just your home, but your…