Did you know 65% of homeowners who upgrade their cooking spaces wish they’d planned better from the start? Transforming your home’s heart doesn’t have to feel like a high-stakes puzzle. With smart strategies, you can create a space that blends beauty, function, and lasting value—without the headaches.
We’ve helped countless families turn outdated layouts into dream zones that spark joy daily. The secret? Breaking the process into manageable steps. Start by envisioning how you’ll use the area—whether hosting lively dinners or enjoying quiet coffee mornings. This clarity shapes every decision, from cabinet styles to lighting choices.
Budget worries stop many projects before they begin. But here’s the truth: strategic upgrades often add more value than full overhauls. Focus on high-impact changes first, like refreshing countertops or optimizing storage. Small tweaks can deliver big results when done thoughtfully.
Key Takeaways
- Smart planning prevents regrets and maximizes your investment
- Focus on functional needs before aesthetic preferences
- Budget-friendly updates often deliver surprising value
- Professional guidance helps avoid costly missteps
- Every choice should balance daily use with long-term appeal
Introduction to Kitchen Remodeling
Transforming your home’s heart starts with more than just picking paint colors or trendy appliances. For many homeowners, this project blends excitement with moments of uncertainty—like solving a puzzle where every piece impacts daily life. Our experience shows that clarity early in the process turns potential stress into empowered decision-making.
We’ve seen how easy it is to fixate on visual details first. But lasting satisfaction comes from asking practical questions: How many cooks use the space? Where do groceries land after shopping? These insights shape layouts that work harder for your routines while boosting resale value.
Surprises often pop up, like discovering outdated wiring or plumbing needs. That’s why we recommend building a 15% buffer into budgets upfront. Pair this with a phased approach—tackle structural updates before selecting finishes—to maintain momentum without compromising quality.
Remember, your space should evolve with your life. A family-friendly breakfast nook today might become a coffee bar tomorrow. By focusing on adaptable solutions, you’ll create a room that grows alongside your needs for decades.
Assessing Your Current Kitchen
Before diving into design choices, press pause. Grab a notebook and walk through your cooking zone like it’s your first visit. What makes you sigh in frustration? What features do you secretly love? This reality check becomes your renovation roadmap.
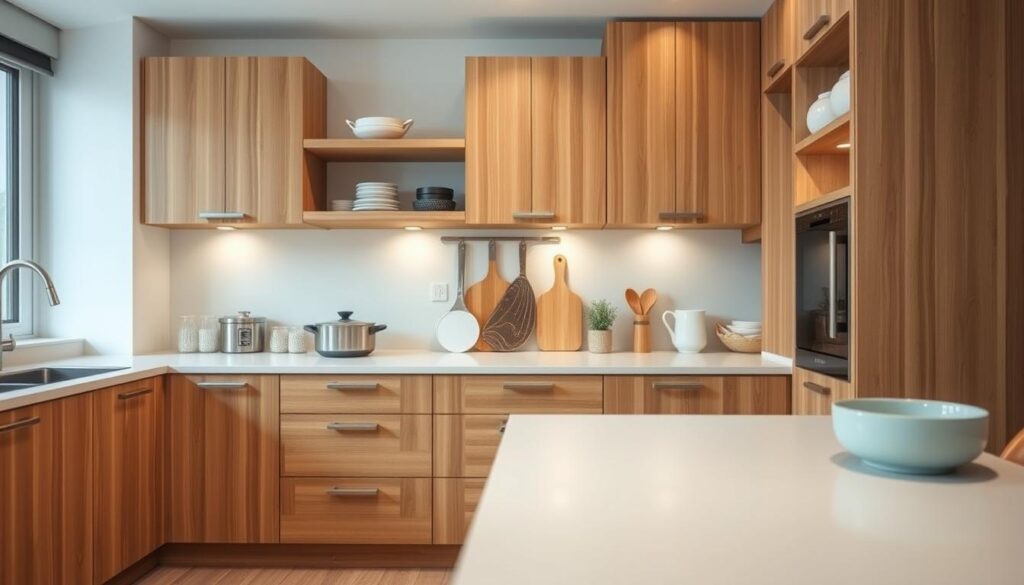
Start with storage capacity. Open every cabinet and drawer—note where items pile up or sit empty. Do baking sheets play hide-and-seek? Are countertops drowning in small appliances? These clues reveal where your space needs smarter solutions.
Next, track your movement patterns during meal prep. Where do you bump into family members? Which work areas feel cramped? Mark these pain points on a simple sketch. You’ll spot layout inefficiencies invisible during casual use.
Lighting often gets overlooked until chopping vegetables becomes a shadowy guessing game. Test your fixtures at different times—morning coffee routines versus evening dinner prep. Does task lighting exist where you need it most?
Finally, list what works. Maybe your corner breakfast nook fosters family chats, or those deep drawers organize pots perfectly. Preserving these gems saves budget while maintaining character.
This honest assessment helps prioritize changes that truly impact daily life. You’ll transform frustrations into functional upgrades that make every cooking session smoother.
Defining Goals and Creating a Realistic Budget
Ever wonder why some home upgrades feel effortless while others drain your wallet? The answer lies in balancing vision with numbers. Let’s map out your priorities while keeping finances firmly grounded.
Evaluating Your Space
Start by asking: “What frustrates me daily?” Maybe it’s reaching over hot pans to grab spices or tripping over open drawers. Recent data shows the average project costs $26,934, but smart planning helps stretch every dollar. Focus on fixes that solve real problems rather than chasing trends.
| Budget Category | Typical Allocation | Smart Splurge |
|---|---|---|
| Cabinetry | 25-35% | Soft-close hinges |
| Appliances | 15-20% | Energy-efficient models |
| Contingency | 20% | Structural surprises |
| Finishes | 10-15% | Quartz countertops |
Budgeting for Unexpected Costs
That charming 1980s kitchen might hide plumbing gremlins or outdated wiring. We always recommend reserving 20% of your total budget for surprises. As one client learned:
“Finding rotten subfloor added $3,200, but our contingency fund saved the timeline”
Break down costs into clear buckets. Allocate money to high-impact areas first—like improving workflow between sink and stove. Smaller remodel projects ($14,600 average) might focus on cabinet refacing, while full overhauls ($41,485+) could include layout changes.
Kitchen Remodeling: Expert Game-Changing Strategies
Smart upgrades don’t require unlimited funds—just clever allocation. We’ve found focusing on daily workhorses creates lasting satisfaction. Splurge where hands touch surfaces most: faucets with ceramic cartridges, soft-close drawer slides, and sturdy cabinet pulls. These elements endure 50+ daily interactions while elevating your space’s feel.
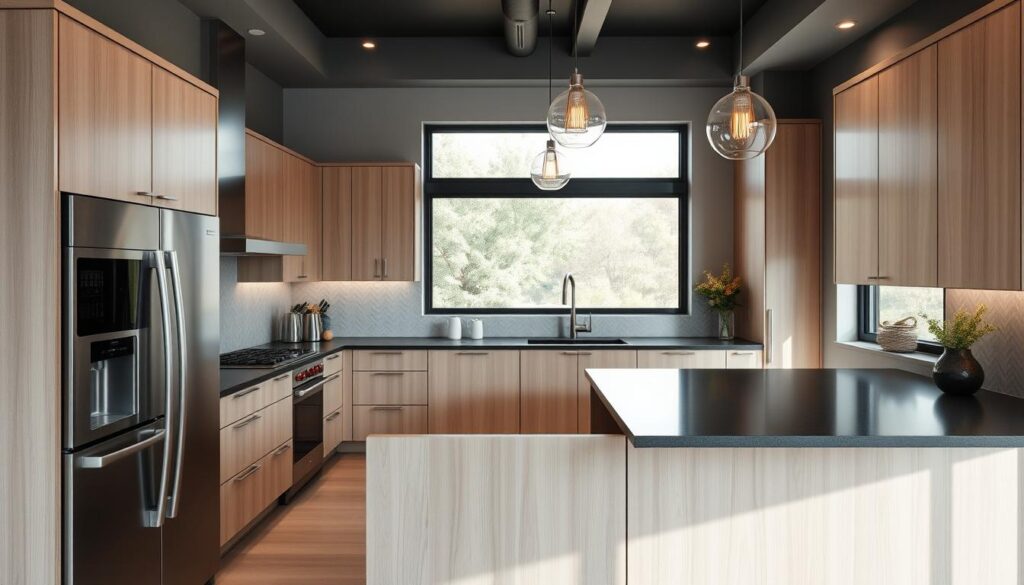
Save your budget for easy-to-swap items later. Backsplash tiles and light fixtures offer style impact without permanent commitment. One client shared:
“Choosing removable peel-and-stick tiles let us refresh our look annually for under $200”
Foundational investments matter most. Reinforce cabinet boxes instead of replacing them. Upgrade electrical outlets near prep zones. These hidden heroes ensure safety and functionality behind the scenes.
Material swaps create luxury illusions. Quartz counters mimic marble’s elegance while resisting stains better. Porcelain slabs offer stone looks at half the cost. We guide clients toward surfaces that balance beauty with real-life durability.
Great design thrives on timeless choices. Neutral cabinets pair brilliantly with bold hardware. Classic subway tiles frame colorful appliances. This approach lets personal flair shine without dating your space. Remember—your cooking zone should grow with you, not trap you in trends.
Exploring Popular Kitchen Layouts
How does your cooking zone flow during busy mornings or holiday gatherings? The right layout acts like a silent partner—streamlining tasks while enhancing your home’s heartbeat. Let’s explore four crowd-pleasing configurations that balance form and function.
Space-Smart Solutions
U-shaped designs wrap three walls with workspace, creating a chef’s paradise. They offer generous storage but need 10+ feet between walls for comfortable movement. Perfect for multi-cook households, though islands become tricky in tighter space.
L-shaped arrangements form a right angle, freeing up floor area. This versatile option suits most room sizes. Many families add a rolling cart or small table where permanent islands won’t fit. “Our L-shaped setup lets the kids help with meal prep without crowding,” shares a recent client.
| Layout | Best For | Key Benefits | Considerations |
|---|---|---|---|
| Galley | Narrow areas | Efficient workflow | Limited natural light |
| Island | Open concepts | Social hub creation | 48″ clearance needed |
| U-Shape | Spacious rooms | Ample counters | Corner access challenges |
| L-Shape | Mid-sized spaces | Flexible add-ons | Dead corner space |
Galley kitchens line up parallel counters—ideal for tight footprints. Keep upper cabinets shallow to prevent tunnel vision. Add glossy finishes to bounce light around.
Island designs shine in open-concept homes. Allow 42-48 inches around all sides for traffic flow. Pro tip: Install outlets before finalizing countertops. This prep step saves headaches when blending appliances.
Remember, your space should mirror how you live. Entertain often? Prioritize conversation zones. Bake weekly? Ensure mixing stations near ovens. The best layouts grow with your evolving needs.
Working with Qualified Contractors
Your home upgrade’s success hinges on choosing the right team. We’ve seen projects soar or stumble based on this critical decision. Let’s explore how to build trust and clarity from day one.

Interviewing and Vetting Professionals
Start conversations by asking three key questions: How many similar projects have you completed? What’s your average timeline? How do you handle surprises? One client shared:
“Our contractor found hidden water damage immediately—they adjusted the plan without delaying our finish date”
Always verify licenses and insurance. Check online reviews across multiple platforms. Request recent references and actually call them. Listen for comments about cleanliness, communication, and problem-solving.
Establishing Clear Communication
Set weekly update meetings from the start. Demand detailed progress reports with photos. Create a shared digital folder for all documents—plans, permits, and change orders live here.
Watch for these red flags:
- Requests for more than 10% deposit upfront
- Vague contract language about materials
- No dedicated project manager
Remember, great contractors welcome your questions. They’ll explain the process clearly and keep the work on track. Trust your instincts—if something feels off during interviews, keep looking.
Designing Your Dream Kitchen
Your cooking space becomes truly special when every detail aligns with how you live. We focus on creating harmony between smart storage, durable surfaces, and tech-forward features that simplify daily routines.
Cabinetry, Storage, and Countertops
Cabinets set the tone for your entire space. Custom options let you craft pull-out spice racks or vertical tray dividers that fit like a glove. Pre-made selections work beautifully for straightforward layouts while keeping costs predictable.
Countertops deserve equal attention. Quartz resists stains better than marble, while butcher block adds warmth. One homeowner told us:
“Choosing quartz meant no more panic about wine spills during dinner parties”
Modern Appliances and Energy Efficiency
Today’s appliances do more than look sleek. Induction cooktops boil water 50% faster than gas, while smart fridges track expiration dates. ENERGY STAR models cut power bills by up to 30% annually.
Consider these upgrades:
- Drawer-style dishwashers for easier loading
- Wall ovens at eye level to prevent back strain
- Touchless faucets with built-in water filters
By blending smart design with practical storage solutions, your space becomes both beautiful and battle-ready for daily life.
Selecting the Perfect Materials and Finishes
Your material choices form the foundation of daily joy in your refreshed space. We help clients navigate options that balance beauty with real-world resilience—because surfaces should spark delight, not stress.
Durable Countertops and Flooring Options
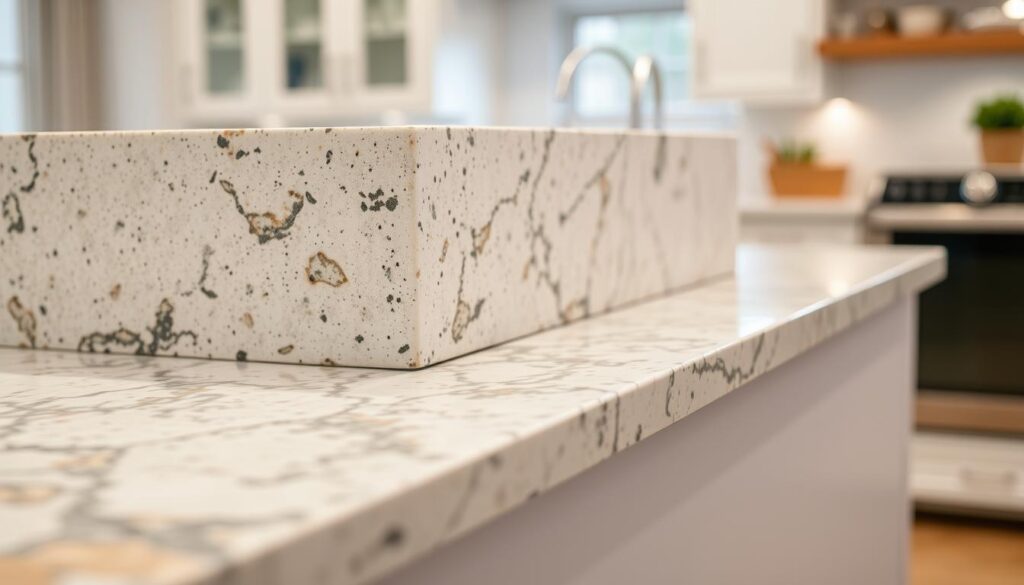
Countertops take center stage in both style and function. Quartz remains a top pick for busy households—it resists scratches better than natural stone. Granite offers timeless elegance, though it needs annual sealing. For budget-conscious upgrades, porcelain slabs now mimic marble’s veins at 40% lower cost.
Flooring faces constant foot traffic and spills. Consider these popular choices:
- Luxury vinyl planks: Waterproof surface with wood-look textures
- Porcelain tile: Handles heavy appliances without cracking
- Engineered hardwood: Stable in humidity changes
| Material | Best For | Key Benefits | Cost Estimate |
|---|---|---|---|
| Quartz | High-use areas | Stain-resistant | $70-$150/sq ft |
| Vinyl Plank | Wet zones | Easy DIY install | $3-$7/sq ft |
| Porcelain | Outdoor flows | Fade-proof | $5-$15/sq ft |
One homeowner shared:
“Our quartz counters still look new after three years of family meals—even survived a knife-wielding toddler!”
Mix materials smartly. Pair rustic wood-look flooring with sleek quartz for contrast. Use textured tiles near entryways to hide dirt. Every choice should simplify cleaning while reflecting your personality.
Managing the Remodeling Process
Transforming your space unfolds in clear stages—each requiring careful coordination. We guide clients through this journey by breaking it into predictable phases while preparing for surprises. Flexibility becomes your greatest ally when walls come down and possibilities open up.
From Demolition to Finishing Touches
The process typically starts with clearing existing structures. Contractors remove old fixtures and assess underlying systems. This stage often reveals hidden issues like outdated wiring or plumbing needs—a key reason we suggest that 20% budget buffer.
Next comes the work you don’t see but rely on daily. Electricians and plumbers rough-in new lines before walls close up. Insulation and drywall follow, transforming skeletal frames into defined spaces. Cabinets and countertops anchor the layout, while lighting and hardware add personality.
Delays happen—we’ve seen supply chain hiccups push timelines by weeks. One client shared:
“Our cabinet delivery got delayed, but weekly check-ins helped us adjust flooring schedules instead of waiting”
Build extra time into your project plan. Track progress through shared apps and maintain open dialogue with your team. Temporary inconveniences fade when you’re left with a space that functions beautifully for years.
Handling Electrical, Plumbing, and Structural Challenges
Ever opened a wall during renovations and found unexpected surprises? Older homes often reveal hidden puzzles that need smart solutions. We’ve seen everything from vintage knob-and-tube wiring to plumbing lines that belong in museums.
Start by itemizing every electrical change when applying for permits. Approved plans often shift once walls come down—that’s normal. Use adjustable junction boxes and extra cable loops to maintain flexibility. These tweaks let electricians adapt when layouts evolve mid-project.
Prepare for discoveries like uninsulated walls or moldy patches near sinks. These areas often need immediate attention. Work with contractors to assess damage and prioritize safety upgrades first.
Outdated plumbing frequently becomes the trickiest part. Galvanized pipes might need full replacement to handle modern fixtures. We recommend pressure-testing lines early to avoid delays later.
By planning for surprises and building adaptable systems, you’ll navigate challenges without derailing your vision. Remember—every uncovered quirk is a chance to create a safer, more efficient space.
FAQ
How do we budget for unexpected costs during a renovation?
Always set aside 10–15% of your total budget for surprises like hidden plumbing issues or structural repairs. This cushion ensures you’re prepared without compromising design choices mid-project.
Which layout works best for tight spaces?
Galley or L-shape designs maximize efficiency in compact areas. For larger rooms, islands add prep space and seating. We focus on balancing workflow and storage to match your cooking habits.
What should we look for in a contractor?
Check licenses, read reviews, and ask for portfolios of past remodels. During interviews, discuss timelines, communication styles, and how they handle permits or code compliance. Transparency is key!
Are quartz countertops worth the investment?
Absolutely. Quartz resists stains and scratches better than granite or marble, requires minimal upkeep, and comes in versatile colors. Pair it with hardwood or porcelain tile flooring for a cohesive look.
How long does a typical remodel take?
Most projects span 6–12 weeks, depending on scope. Demolition, electrical updates, and custom cabinet installations take the longest. We keep timelines realistic and update you at every phase.
Can we keep our existing plumbing during upgrades?
Often yes, unless relocating sinks or appliances. We’ll inspect pipes and connections to ensure they meet current codes. Upgrading to energy-efficient fixtures can also cut water usage.
What’s the best way to add light to a dark kitchen?
Layer LED under-cabinet lighting with pendant fixtures over islands. For a bright, airy feel, use semi-gloss paint on walls and choose reflective materials like stainless steel or glossy backsplashes.
How do we balance storage and style in cabinets?
Opt for custom pull-out shelves, lazy Susans, or vertical dividers. Soft-close hinges and matte finishes like Sherwin-Williams’ “Agreeable Gray” blend functionality with modern aesthetics.
Should we replace appliances before selling our home?
If they’re outdated, yes. Energy Star-rated models attract buyers and boost resale value. Stainless steel remains popular, but integrated panels offer a seamless look for high-end remodels.
