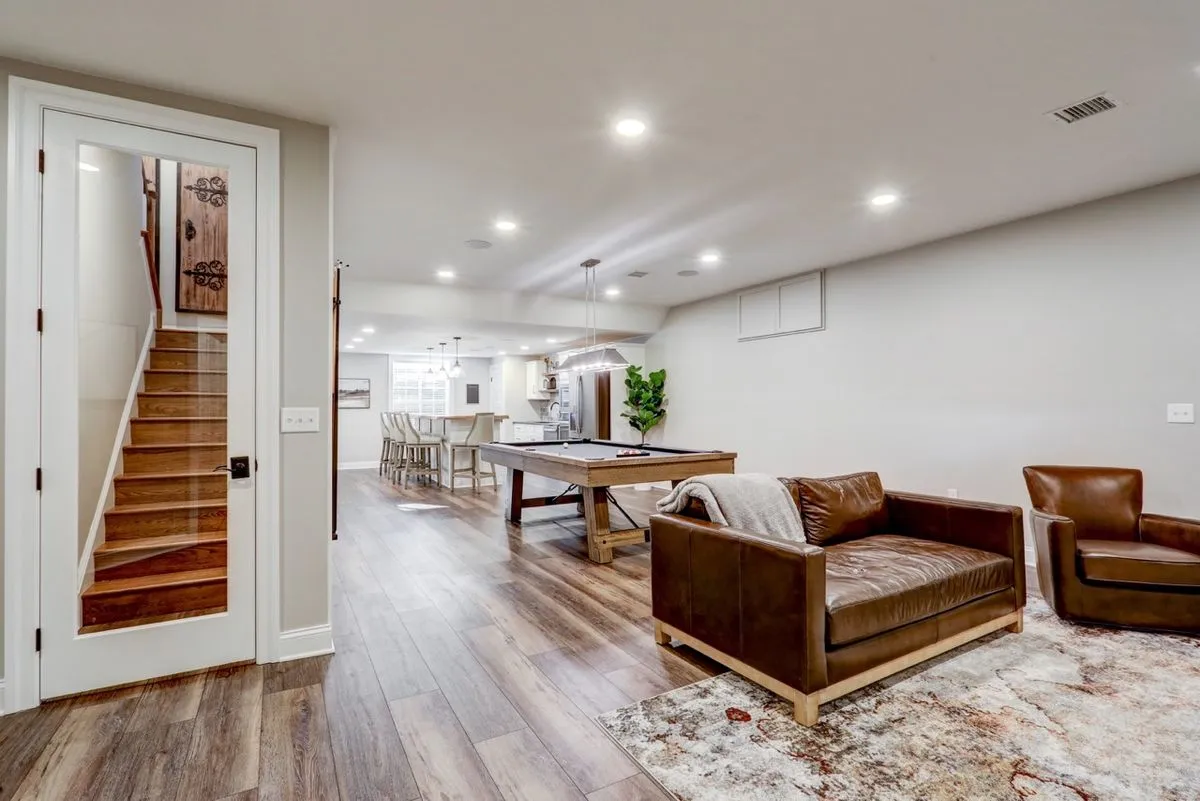
So you’ve decided it’s time to remodel a basement and transform that underutilized space into something amazing. Awesome! Planning a basement renovation can significantly increase both the area and the overall value of your home.. Initiating such a project can feel overwhelming. Fear not as we’re here to guide you through the stages of transforming your basement into a space. With our expertise, in home renovations, at WellCraft Kitchens we’ll help you unlock the hidden potential of your level living area!
Contents
Step 1: Make a Game Plan
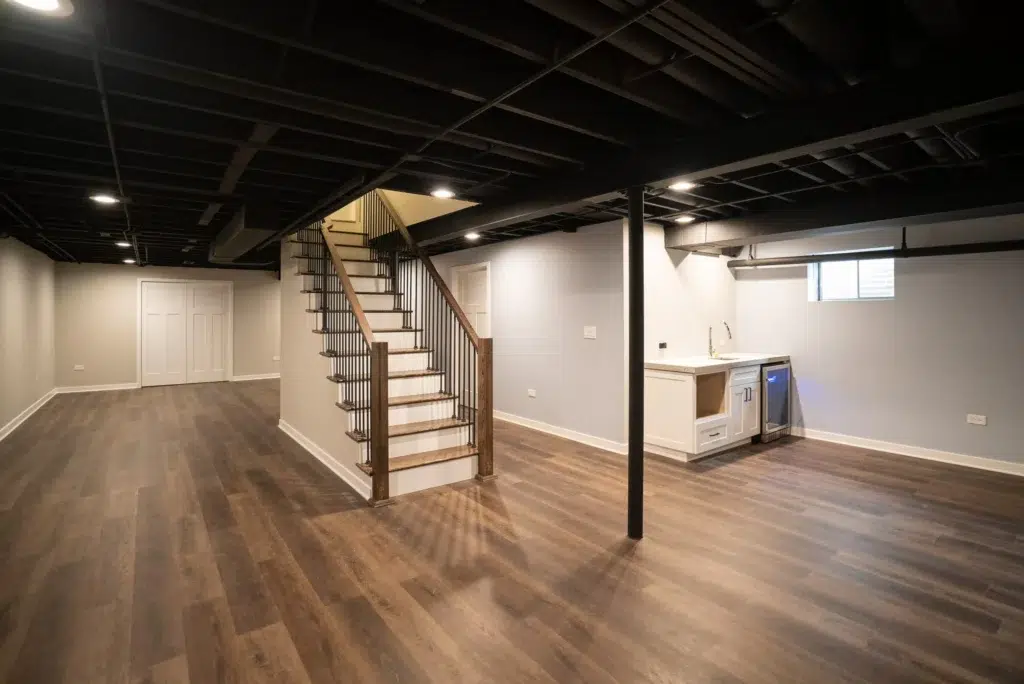
First things first – before swinging any hammers, you need a solid plan for your basement remodel. Think about how you want to use the space. A cozy family room? A home gym? An epic entertainment zone? An extra bedroom or apartment? The possibilities are endless when you remodel a basement.
Take a stroll, around the area and jot down some ideas. Measure the dimensions to get a picture of how much space you have available. This will come in handy when selecting materials and furniture on. Don’t forget to look into your building regulations and obtain any required permits before beginning the basement remodeling project. Certain areas have guidelines regarding ceiling heights, emergency exit windows and so on. Be thorough to prevent any issues down the road!
Step 2: Set a Realistic Budget
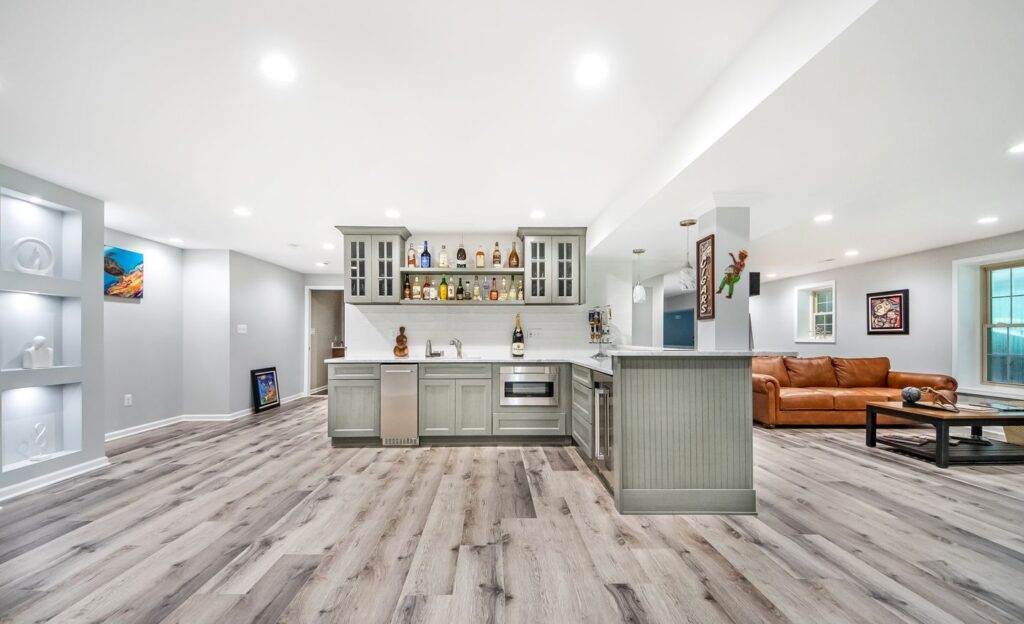
Next up – money talks. Figuring out your budget is crucial when you remodel a basement. On average renovating a basement typically costs, between $30-50 per foot depending on the extent of the project and the quality of materials used. So calculate your footage and crunch some numbers to get a rough estimate.
Create a list distinguishing your must have items from to have ones. Decide where you’re willing to splurge and where you can cut costs. Perhaps you’ve been envisioning a home theater with surround sound. Could settle for luxury vinyl plank flooring of hardwood. Strike that balance.
No matter what allocate a 10-20% as a contingency, for expenses. Trust us at WellCraft Kitchens. Renovation ventures always come with surprises! It’s wise to be financially prepared when tackling a basement remodel project.
Step 3: Clear Out and Clean Up
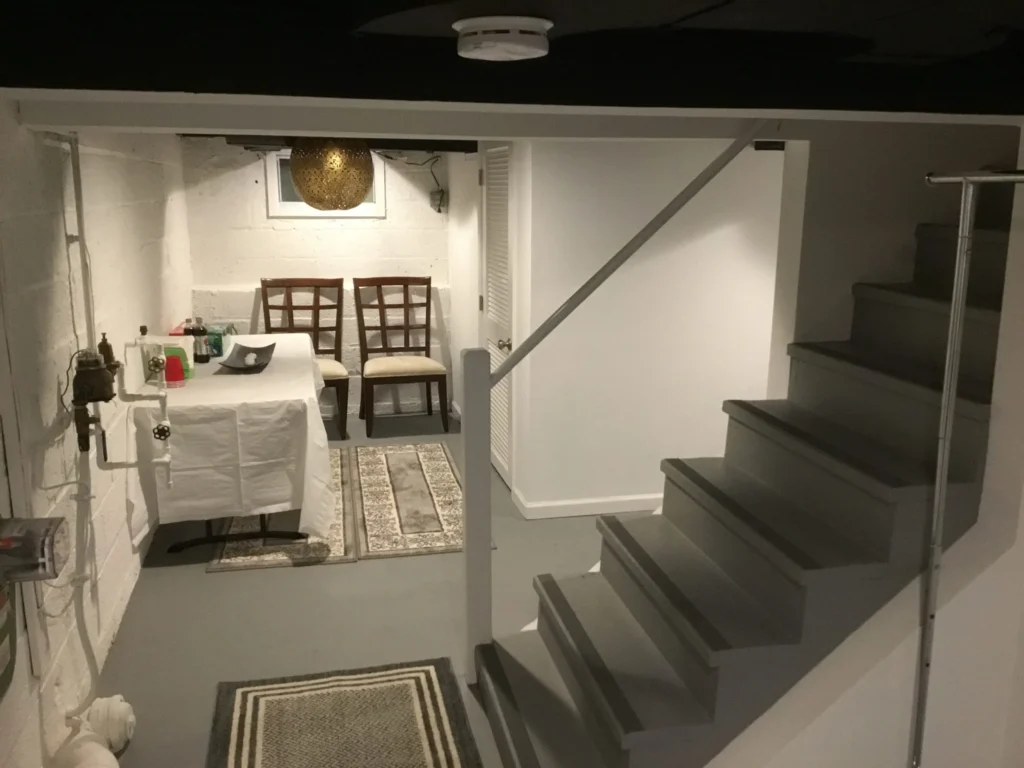
Alright, time to put on your work gloves and prepare your basement for its transformation. The first order of business when you remodel a basement is to clear out all the existing stuff. Donate, sell, or toss anything you don’t need. Have a garage sale or rent a storage unit if needed. You want a blank slate.
Once you’ve cleared out the area make sure to clean it. Get rid of any cobwebs, dust bunnies and check for any signs of dampness, like spots, water marks or musty smells. It’s important to fix any water related issues before beginning any basement remodeling project. Hiring a professional to waterproof the space is a decision that can save you time and money in the run.
Step 4: Frame the Walls
Now for the fun part – framing! This is when your basement starts to actually look like a livable space. The basic steps to frame walls when you remodel a basement are:
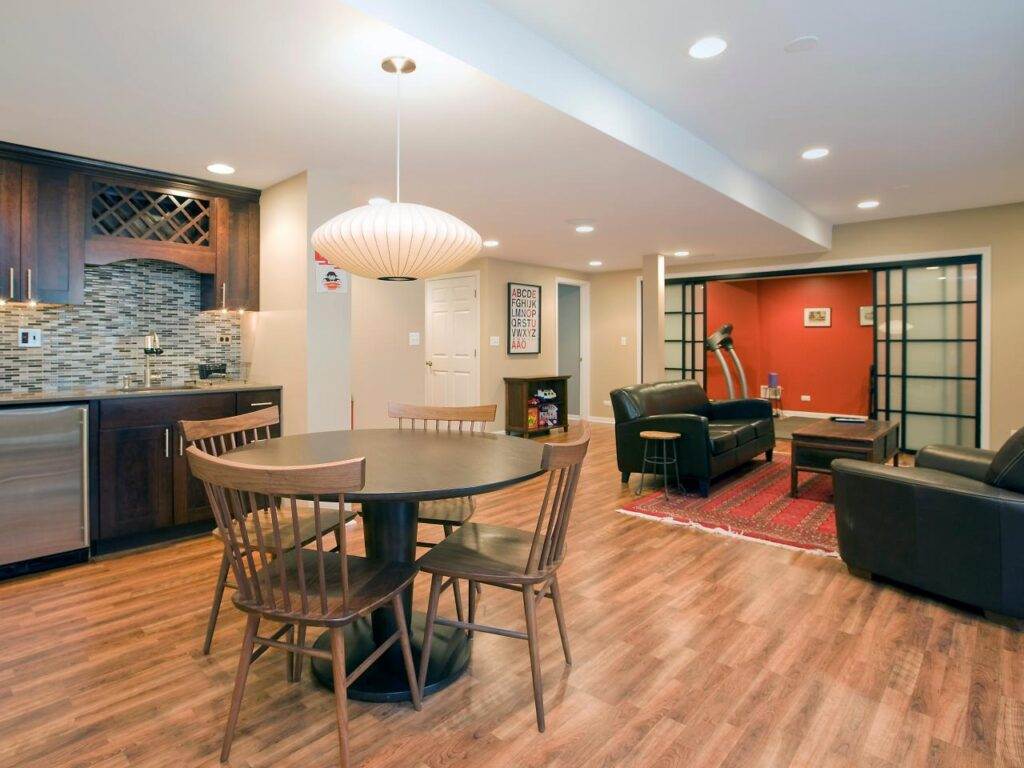
- Outline where the walls will be placed by snapping chalk lines on the floor.
- Secure a pressure treated plate along the lines using a powder actuated nailer.
- Use 3 inch framing nails to attach the plate to the ceiling joists.
- Cut studs to size and fasten them between the plates every 16 inches.
- Frame doors or windows as needed.
Remember, framing a basement involves details. If you’re not confident, in your skills consider hiring a framer. A constructed basement is crucial for a remodeling project.
At WellCraft Kitchens we suggest insulating walls with foam board and interior walls with fiberglass batts for improved energy efficiency and comfort, in your basement. It’s a step not to overlook during a basement renovation!
Step 5: Install the Utilities

With the walls up, it’s time to call in the pros to roughin the utilities – electric, plumbing, and HVAC. This is definitely not a DIY task when you remodel a basement unless you really know your stuff. Hire licensed contractors to ensure everything is installed safely and up to code.
An electrician is responsible, for installing wiring for outlets, light fixtures and switches. It’s important to ensure lighting and sufficient outlets in the area. You wouldn’t want to be left in the ages after renovating your basement!
If you’re incorporating a bathroom, kitchen or bar a plumber will be needed to set up water supply lines and drainage. The same applies to a laundry room. They’ll make sure all the pipes are positioned correctly.
Remember to consider heating and cooling! An HVAC technician can. Extend your homes ductwork or install a separate system to maintain a comfortable temperature, in your basement throughout the year. Just picture your remodeled basement from freezing winters or sweltering summers. What a relief!
Step 6: Hang the Drywall
Alright lets get back, to a project you can tackle yourself (if you’re up for it). Installing drywall can be messy and exhausting. Theres something oddly satisfying about it. Here are the basics of installing drywall when renovating a basement;
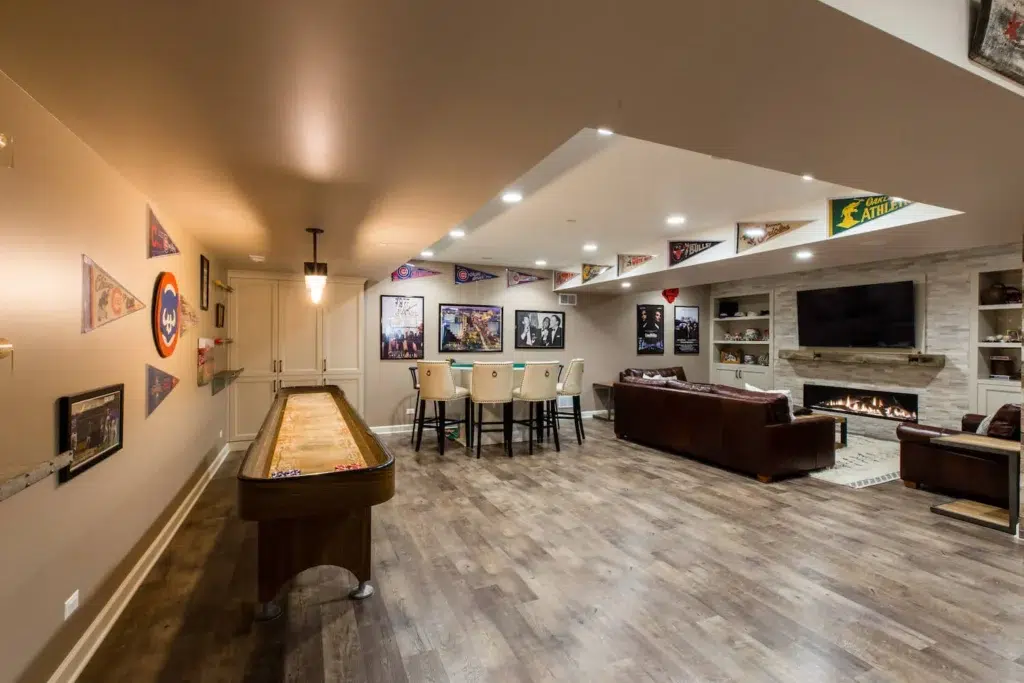
- Cut the drywall panels to fit each section of the wall. Use a drywall square and utility knife for cuts.
- Secure the panels to the studs using drywall screws starting from the top and working your way down. Ensure that screws are spaced 8 inches apart.
- Apply drywall compound and tape to seal the seams using a 6 inch taping knife. Allow it to dry overnight.
- Smooth out any bumps or ridges by sanding for a finish. Clean off any dust, with a cloth.
Repeat this process for the ceiling if you’re not doing a drop ceiling. Fair warning – drywalling a ceiling is a shoulder workout and a half. Grab a buddy to help if you remodel a basement DIY-style!
Step 7: Paint the Walls & Ceilings
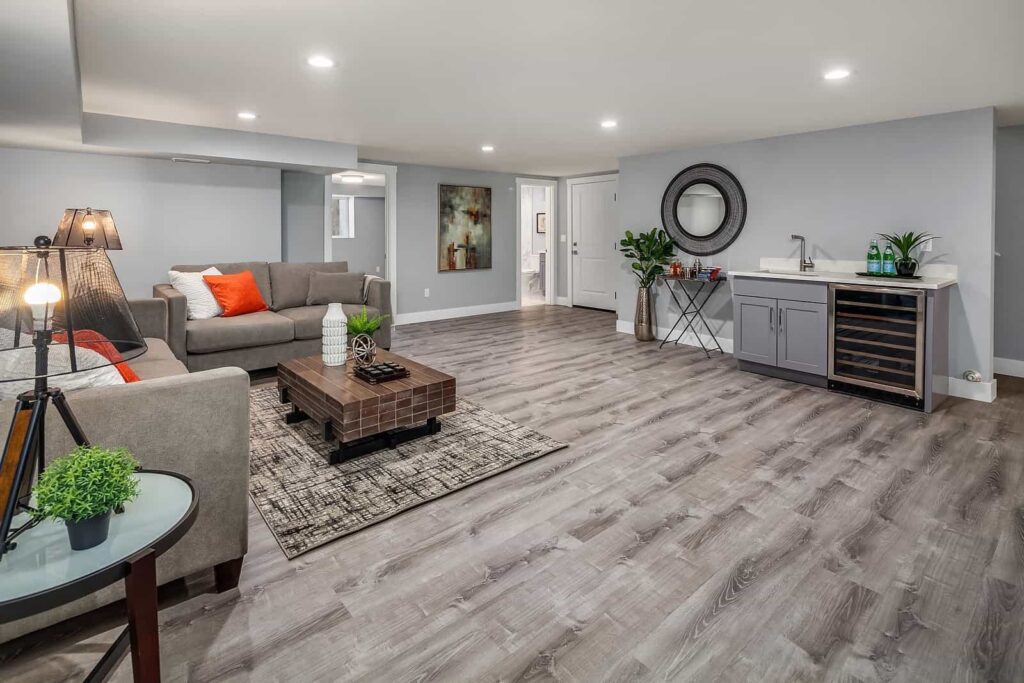
The conclusion is approaching! Applying paint is, among the tasks when renovating a basement. It can have a significant effect. Choosing the colors has the power to completely change the atmosphere of your area.
Always start with a coat of primer before painting. This will help seal the drywall and prevent moisture issues – crucial when you remodel a basement. Then, break out the rollers and brushes and get to work painting your chosen colors.
For a painting plan opt for light and vibrant colors. Choosing shades can give your basement a sense of spaciousness and freshness while incorporating accents can infuse character. Feel free to experiment and have some fun. Remember, it’s just paint!
Here, at WellCraft Kitchens we lean towards an contemporary look, for basements. Picture clean. Gentle grays paired with blues or lively greens. Ultimately the paint choices should mirror your taste and the intended use of the space basement renovation.
Step 8: Choose Durable Flooring
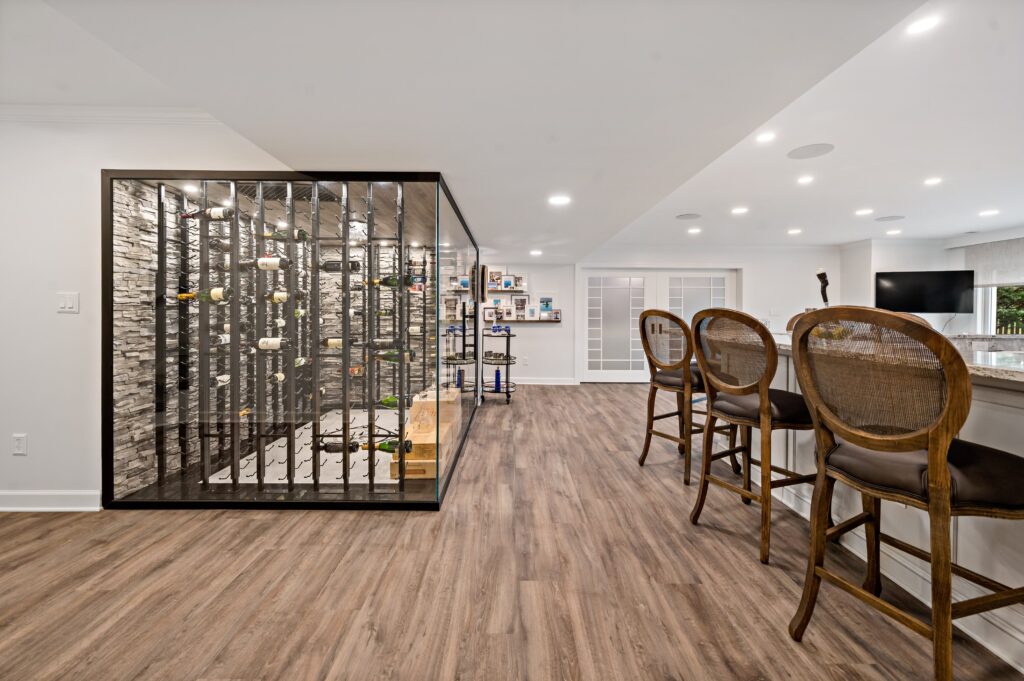
We’re there! Choosing the flooring is crucial when remodeling a basement due, to moisture issues. Some of the choices for basements that are durable and resistant to moisture include luxury vinyl plank (LVP) ceramic or porcelain tile, engineered hardwood and carpet, with a moisture barrier.
Each has its own pros and cons in terms of cost, style, and installion when you remodel a basement. LVP is affordable and DIY-friendly, but not as high-end as hardwood. The sleek tile is simple to maintain though it may not offer the feel underfoot. Consider what aligns with your basement objectives and financial plan.
Prior, to installing any flooring ensure that your subfloor is even and free of debris. Fix any cracks or uneven areas using a self leveling product. Follow the installation guidelines provided by the manufacturer. If unsure it’s advisable to seek assistance, from professionals!
Step 9: Add the Finishing Touches

Pop the champagne, you did it! Well, almost. The last step to remodel a basement is to add all the finishing touches that will make the space feel like home.
Complete the installation of any remaining fixtures, outlets and switches. Hang up the doors. Trim. Bring in the furniture and decorations. Set up the TV and speakers. Introduce some textiles and greenery to create an atmosphere. The possibilities are endless!
This phase is truly enjoyable as you can relax and appreciate the results of your work. You’ve transformed a basement renovation from a dream, into reality which is definitely something celebrating.
If you find yourself needing guidance, on design aspects WellCraft Kitchens is available to assist you. We provide design consultations to help bring your vision to life and ensure that all elements of your basement renovation blend together seamlessly.
Final Thought
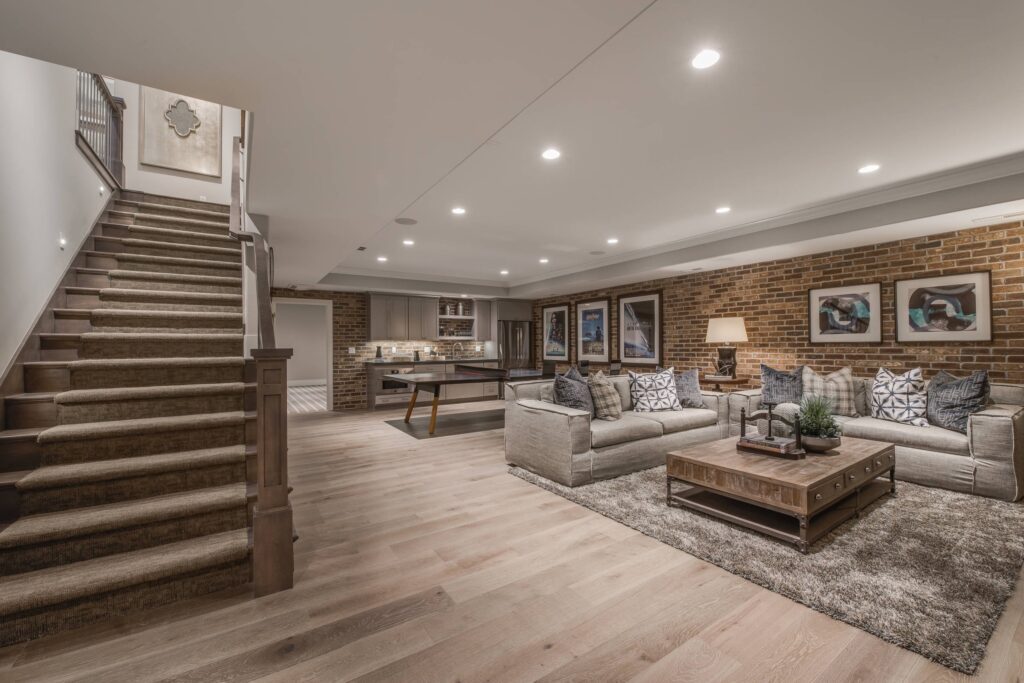
Renovating a basement can be quite a task. The end result is definitely worth it, for the added living area and increased property value. Approach it gradually plan in advance. Don’t hesitate to seek help when necessary.
With some elbow grease and vision, you can remodel a basement into the space of your dreams – whether that’s a home theater, game room, guest suite, or just a really awesome hangout spot. The possibilities are truly endless!
If you’re feeling like there’s a lot, on your plate. Could use some advice as you go reach out to us at WellCraft Kitchens. We enjoy assisting homeowners with basement renovations. Would be excited to contribute to your project. So lets get down to business and start working – your stunning new basement is, around the corner!

