Did you know the average kitchen renovation costs $26,000? Our team discovered affordable alternatives that deliver 90% of the visual impact for 20% of the price. With a few stylish cabinet makeover ideas, you can refresh your kitchen’s look without demolition or costly custom carpentry—creating a space that feels brand new for a fraction of the cost.
We’ve helped over 4,500 clients refresh their cooking areas through smart surface updates. A fresh coat of paint or modern hardware can make dated storage units look like high-end installations. Even basic builder-grade materials can become design statements with proper techniques.
Our approach focuses on what already works in your layout. Instead of replacing entire units, we’ll show you how to enhance door profiles with trim or update lighting inside shelves. These changes create depth and character while maintaining your kitchen’s functional foundation.
Key Takeaways
- Save up to 80% compared to full replacements
- Use paint techniques to mimic premium finishes
- Combine budget-friendly materials for luxury effects
- Complete most projects in a single weekend
- Boost storage efficiency during updates
Insightful Ideas to Revitalize Your Kitchen Cabinets
Color holds surprising power to redefine your cooking space. A single paint choice can shift basic storage units into design-forward elements that anchor your kitchen’s personality. We’ve transformed countless spaces using this approach, often achieving results that rival full replacements.
Modern & Timeless Design Inspirations
Our team swears by crackle finishes for instant character. This technique creates timeworn charm through layered paints and specialty glaze. Apply a base color first, then brush glaze in one direction before adding a contrasting top coat. Cracks form naturally within 60 minutes, perfect for achieving rustic or vintage looks.
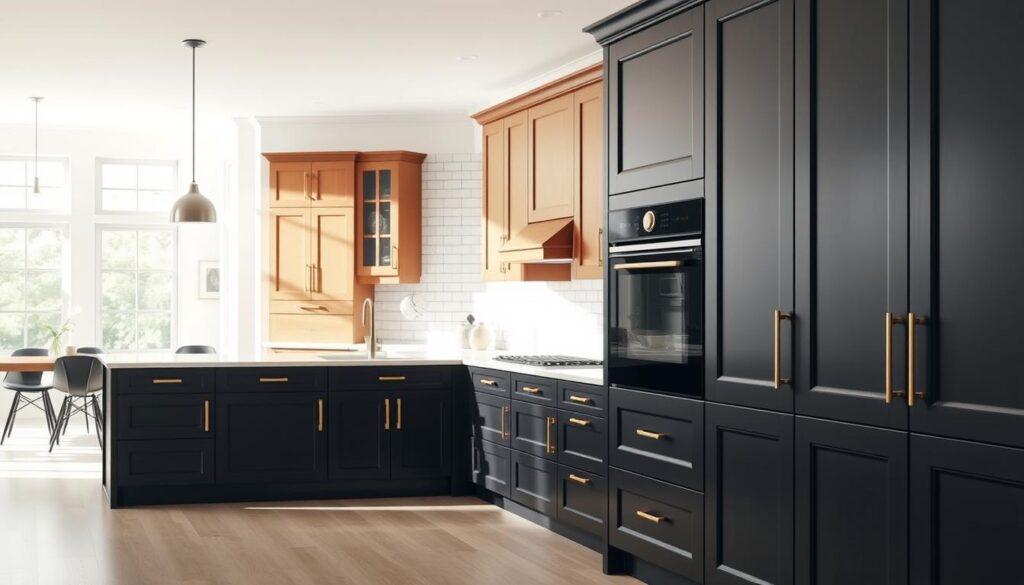
High-gloss options deliver sleek modernity with practical perks. These finishes resist smudges better than matte alternatives while amplifying light in smaller kitchens. For balanced designs, try pairing glossy uppers with matte lowers – this contrast adds depth without overwhelming the space.
| Technique | Cost | Time | Visual Effect |
|---|---|---|---|
| Crackle Finish | $50-100 | 2 Days | Vintage Charm |
| High-Gloss Paint | $75-150 | 3 Days | Modern Edge |
| Two-Tone Design | $100-200 | 4 Days | Layered Depth |
Textural elements take updates further. Consider adding wood grain effects or metallic accents to drawer fronts. These touches work particularly well on lower units where details catch the eye without dominating the room. Always start with thorough cleaning and sanding – proper prep ensures finishes last years, not months.
Cost-Conscious Strategies for a Cabinet Refresh
Smart budget planning turns kitchen updates from overwhelming to achievable. We focus on high-impact areas where small investments yield dramatic results. Our clients often discover they can transform their space without draining savings.
Budget Planning and Affordable Material Choices
Start by dividing your budget into must-haves and nice-to-haves. Hardware and lighting upgrades typically deliver the best return first. Save decorative elements for later phases when funds allow.
We recommend this allocation strategy:
| Budget Range | Scope | Key Improvements |
|---|---|---|
| $500-$2,000 | Cosmetic | Paint, hardware, under-cabinet lighting |
| $5,000-$15,000 | Moderate | Refinished surfaces, appliance updates |
| $15,000+ | Full Refresh | Layout changes, custom features |
Always set aside 10-15% for surprises like hidden repairs. One client found water damage during hardware installation – their contingency fund saved the project.
Affordable material options let you achieve premium looks without premium prices. Laminate countertops now mimic marble veining convincingly. Our favorite trick? Using chalk paint to create faux wood grain effects on basic surfaces.
“The right prep work turns $20 hardware into $200-looking upgrades.”
DIY projects cut costs significantly. Painting units yourself saves $1,500+ on labor. We provide detailed guides for peel-and-stick backsplashes that install in hours. Remember – phased approaches maintain design flow while spreading expenses over time.
Stylish Cabinet Makeover Ideas for Enhanced Kitchen Functionality
Your kitchen’s potential lies in smart surface updates rather than full replacements. We’ve perfected methods that boost functionality while adding personality through creative finishes and hardware upgrades. These approaches work wonders on existing layouts without disrupting daily routines.
DIY Painting and Finishing Techniques
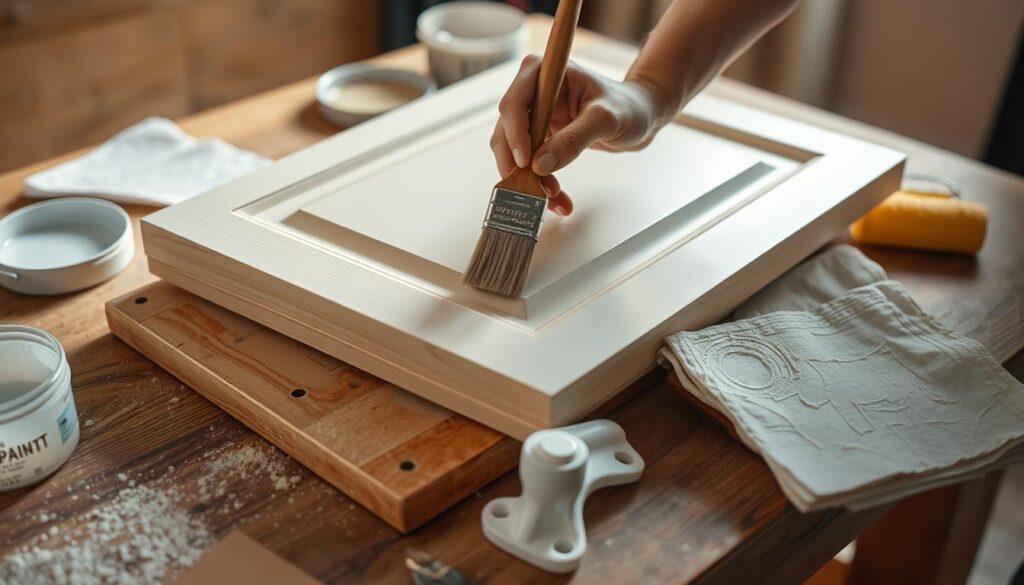
Distressed finishes bring farmhouse charm to any space. Start with two contrasting paint layers – let the base coat dry completely before adding the top color. Use sandpaper to reveal underlying hues on edges and corners, then dab dark paint splatters for authentic wear marks. One client joked, “Our cabinets look like they’ve survived three generations of family dinners!”
Antiqued finishes create depth through strategic highlighting. After applying your base color, dip a dry brush in lighter paint and wipe off excess. Gently graze trim details and panel grooves to accentuate shadows. This technique works particularly well on Shaker-style doors, emphasizing their clean lines.
Simple Hardware Swaps for an Instant Update
New hardware acts like jewelry for your kitchen. Matte black pulls modernize traditional layouts, while brushed gold knobs add warmth to contemporary spaces. We recommend measuring existing hole spacing before shopping – this saves time and avoids unnecessary drilling.
Upgrade functionality with soft-close hinges and full-extension drawer slides. These improvements make accessing back corners effortless while reducing accidental slams. Pair them with touch-activated latches for a streamlined look that keeps cabinet fronts clean.
Always protect your work with quality sealants. Water-based polyurethane preserves finish integrity without yellowing over time. For high-traffic areas, consider durable epoxy coatings that withstand daily scrubbing while maintaining their fresh appearance.
Creative DIY Techniques to Transform Your Cabinets
What if your kitchen’s biggest limitation became its greatest asset? We help homeowners unlock hidden potential through hands-on projects that transform kitchen spaces dramatically. Our methods balance practicality with creative flair.
Step-by-Step Guide to Painting Your Cabinets
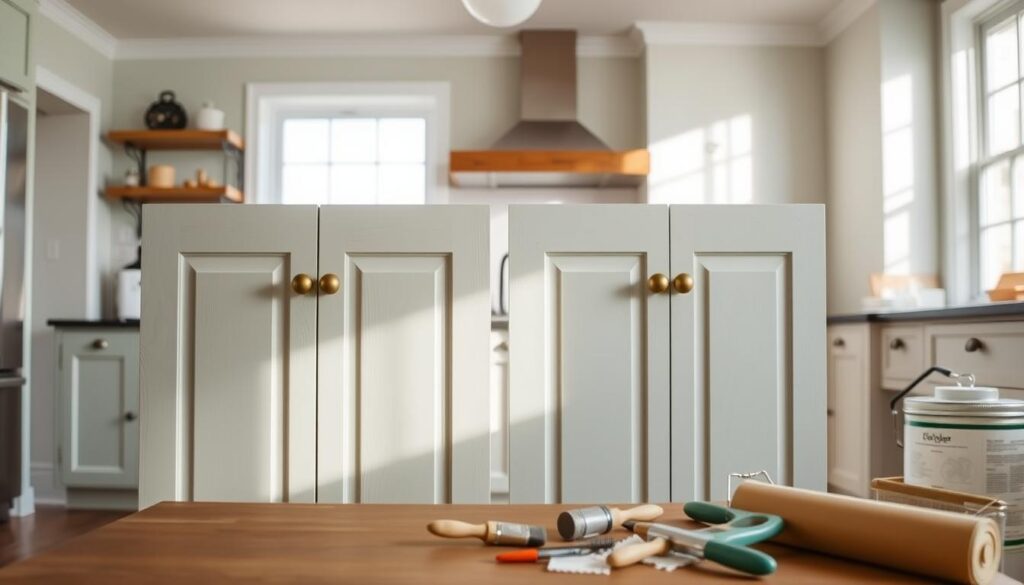
Proper prep makes all the difference. Start by cleaning surfaces with trisodium phosphate to remove grease. Remove old hardware and sand until smooth – this helps paint adhere better. One client shared, “Our 1990s oak cabinets now look like custom European units!”
Use high-quality primer to block stains and create uniform texture. Apply thin paint coats with angled brushes for crisp edges. We recommend water-based enamel for durability. Let each layer dry completely before adding the next.
Tips for Open Shelving and Removing Old Doors
Open shelving creates airy layouts while showcasing favorite items. Start by removing doors carefully – keep screws for potential reinstallation. Check frames for damage, then sand and paint exposed areas.
For floating shelves:
- Mark stud locations with electronic finder
- Use metal brackets rated for 50+ lbs
- Style with varying heights and textures
Mix closed and open storage for visual balance. Display colorful dishes or trailing plants to draw the eye upward. Remember: less clutter means bigger impact.
Modern Upgrades and Practical Tool Essentials
Your kitchen deserves functional improvements that simplify daily tasks while elevating efficiency. We focus on upgrades that solve real problems – like reaching back corners of deep cabinets or working in shadowy food prep areas.
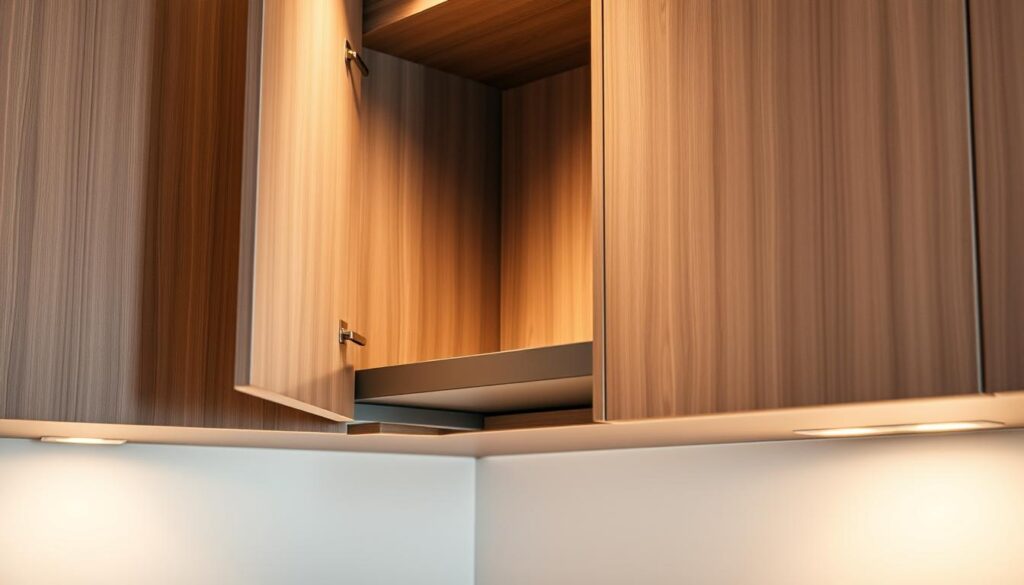
Using Pull-Out Shelves and Under-Cabinet Lighting
Pull-out shelves turn wasted space into accessible storage. Our custom designs use 1×4 pine frames and birch plywood bottoms that glide smoothly on heavy-duty tracks. One client marveled, “I finally use my entire 24-inch-deep base units without crawling inside!”
LED lighting strips under cabinets provide task illumination that reduces eye strain. We recommend dimmable options – they cast warm light for evening meals and bright beams for chopping veggies. Installation takes under two hours with adhesive-backed models.
Essential Tools & Safety Gear for DIY Projects
Every successful upgrade starts with the right equipment. Our must-have list includes:
- Screwdrivers (Phillips and flathead)
- Adjustable wrenches for plumbing tasks
- Non-slip utility knives
- Laser levels for precise alignments
Never compromise on protection. Rubber gloves shield hands from splinters and chemicals, while safety glasses prevent debris injuries during shelf installations. We’ve seen how proper gear turns stressful projects into satisfying accomplishments.
Smart upgrades blend practicality with modern convenience. Whether adding sliding shelves or installing ambient lighting, these changes create kitchens that work smarter – not harder.
Elevating Aesthetics with Accessories and Finishing Touches
The final 10% of design work creates 90% of the visual impact. Crown molding transforms basic storage units into focal points that command attention. We’ve perfected installation methods that add architectural appeal while keeping projects manageable for homeowners.
Crown Molding and Custom Trim Ideas
Pre-assembled frames make installations safer and faster. Build these on your workbench using 1×4 boards cut to your cabinet’s length. Attach molding pieces with wood glue and brad nails before mounting the entire unit. One client noted, “Our kitchen gained instant charm without the ladder acrobatics!”
Choose profiles that match your home’s character:
| Style | Cost Per Foot | Install Time | Visual Effect |
|---|---|---|---|
| Colonial | $2.50 | 3 Hours | Traditional warmth |
| Craftsman | $3.75 | 4 Hours | Clean lines |
| Modern Farmhouse | $4.20 | 5 Hours | Rustic appeal |
Paint crown molding to match existing finishes for seamless integration. Semi-gloss formulas reflect light beautifully while resisting fingerprints. For two-tone kitchens, extend wall colors onto molding to create cohesive transitions.
Don’t overlook smaller details. Decorative corbels under upper units add warmth, while beadboard panels refresh dated sides. These touches elevate appearance without structural changes. Always use paintable caulk to seal gaps – it ensures professional-looking results that maintain their charm for years.
Visit Our Sterling Showroom & Connect With Us
Your kitchen transformation journey starts with seeing possibilities firsthand. At our Sterling showroom, you’ll explore real-life examples of kitchen cabinet updates that blend creativity with practicality. Touch materials, test hardware, and visualize solutions for your space.
Personalized Guidance for Your Project
We’re here to listen. Schedule time with our team at 23465 Rock Haven Way, Suite 125 to discuss your existing cabinets. Our designers will show you ways to refresh storage units without replacing them – from clever hardware swaps to surface treatments that hide wear.
Visit Monday through Saturday between 9 AM and 5 PM. We work by appointment to give every client focused attention. Call +1 (703) 991-7484 or email info@wellcraftkitchens.com to book your session.
Bring measurements and photos of your current setup. We’ll help prioritize items that deliver maximum impact first. Many homeowners discover they can update cabinets without major construction – saving time and budget for other upgrades.
Let’s create a space that works better tomorrow than it does today. Small changes to your existing cabinets often unlock surprising potential. We’ll share proven ways to organize kitchen cabinet interiors and style open shelves with your favorite items.
Ready to reimagine your space? Our team turns “what if” ideas into reality while keeping cabinets without full replacements. Your dream kitchen awaits – let’s start the conversation.
FAQ
What’s the easiest way to modernize outdated cabinets?
Matte black or brushed nickel hardware instantly elevates the look. Pair it with a fresh coat of paint in neutral tones like Sherwin-Williams’ “Alabaster” or bold hues like “Hale Navy” for contrast. Open shelving by removing select doors also creates airy appeal.
Can I paint laminate cabinets successfully?
Yes! Use a high-bonding primer like Zinsser Bulls Eye 1-2-3 first, followed by acrylic enamel paint. Lightly sanding surfaces and opting for a matte finish helps hide imperfections. Brands like Rust-Oleum provide kits tailored for laminate.
How do I maximize storage in small kitchens?
Install pull-out trays, lazy Susans, or under-cabinet lighting. Repurpose awkward spaces with custom trim or vertical dividers for baking sheets. IKEA’s Utrusta line offers affordable organizers that fit most standard sizes.
What tools are essential for a DIY cabinet project?
A quality angled brush, foam roller, drill, screwdriver, and degreaser like Krud Kutter are must-haves. For safety, wear 3M respirators when sanding. FrogTape’s delicate surface painter’s tape protects edges without damaging finishes.
How can I coordinate cabinets with countertops?
Warm wood tones pair beautifully with quartzite or marble, while crisp white cabinets complement granite. For cohesion, match undertones—cool grays with stainless steel, warm beiges with brass accents. Sample swatches in natural light first.
Are two-toned cabinets still trendy?
Absolutely! Pair upper cabinets in soft whites with lower units in moody greens or navy for depth. For a cohesive look, repeat accent colors in backsplashes or bar stools. Benjamin Moore’s “Simply White” and “Hale Navy” are popular combos.
How do I schedule a consultation at your Sterling showroom?
Call us at +1 (703) 991-7484 or email info@wellcraftkitchens.com to book an appointment. We’re open Monday–Saturday and offer virtual tours for those unable to visit in person.
