1970s split level remodel

Transforming Your 1970s Split Level: A Comprehensive Remodeling Guide

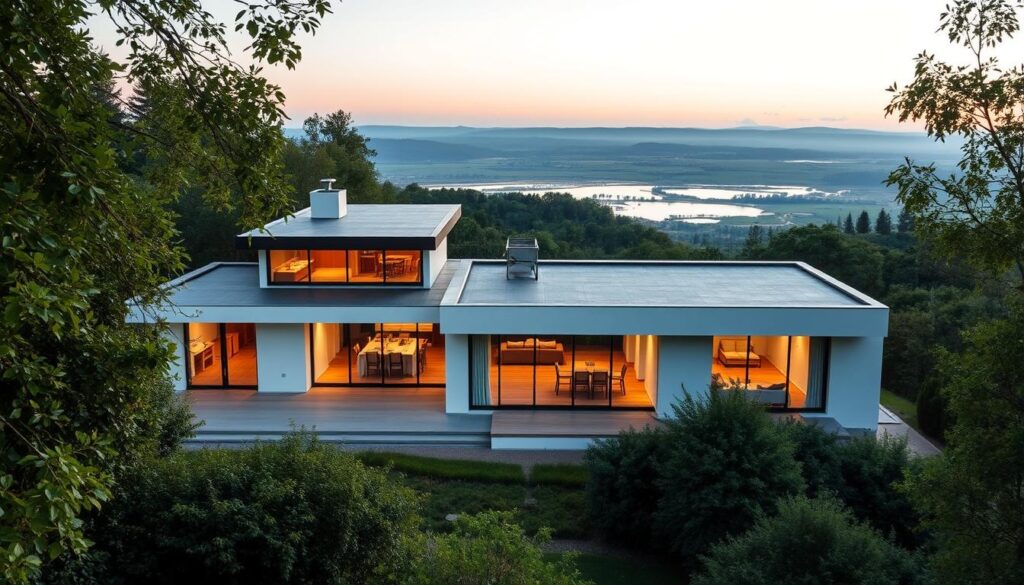
If you happen to have a split level home, from the 1970s you might be considering giving it a makeover. These distinct homes, known for their floor levels were quite trendy during the 1960s and 1970s. Nevertheless numerous homeowners nowadays perceive the layouts and styles as outdated and not as suitable, for living. Fear not – a well-planned 1970s split level remodel can breathe new life into your beloved home, blending retro charm with contemporary style and comfort.

At WellCraft Kitchens we excel in renovating 1970s split level houses into practical living areas customized to suit your lifestyle. Our experienced designers and craftsmen have the knowledge and skills to guide you through every step of your 1970s split level remodel, from initial concept to final reveal. Let’s explore some key considerations and inspiring ideas for modernizing your split level.


1970s split level remodel 1


Rethinking the Layout

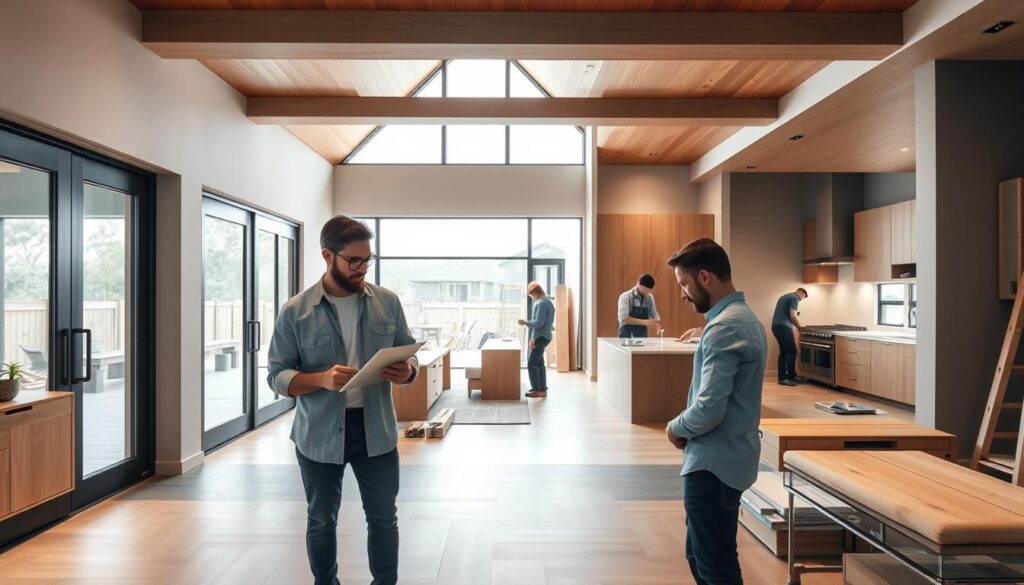
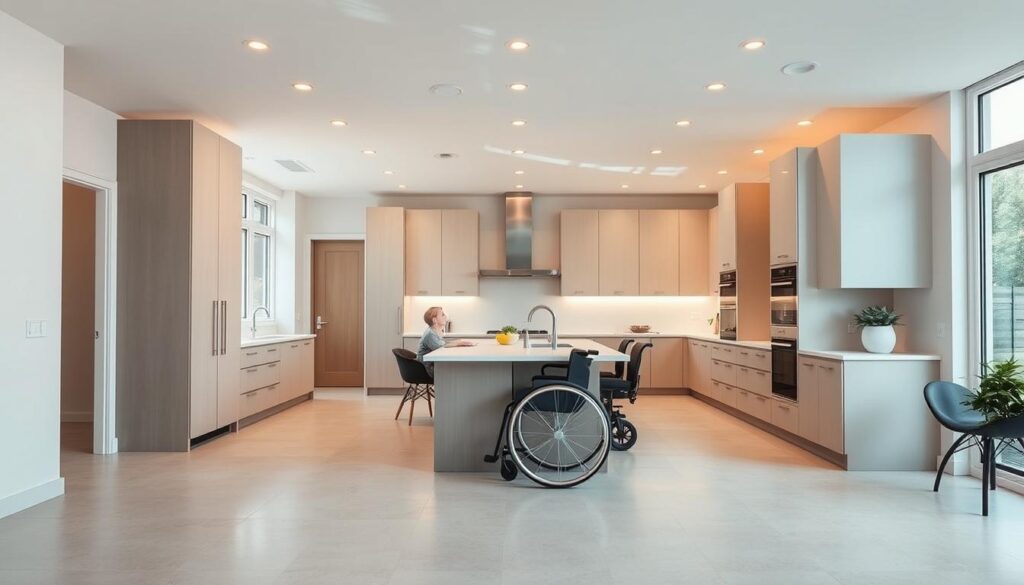
One of the biggest challenges with 1970s split level homes is the segmented layout, which can feel closed-off and limit natural light flow. A strategic 1970s split level remodel often involves opening up the main living areas to create a more spacious, connected feel.

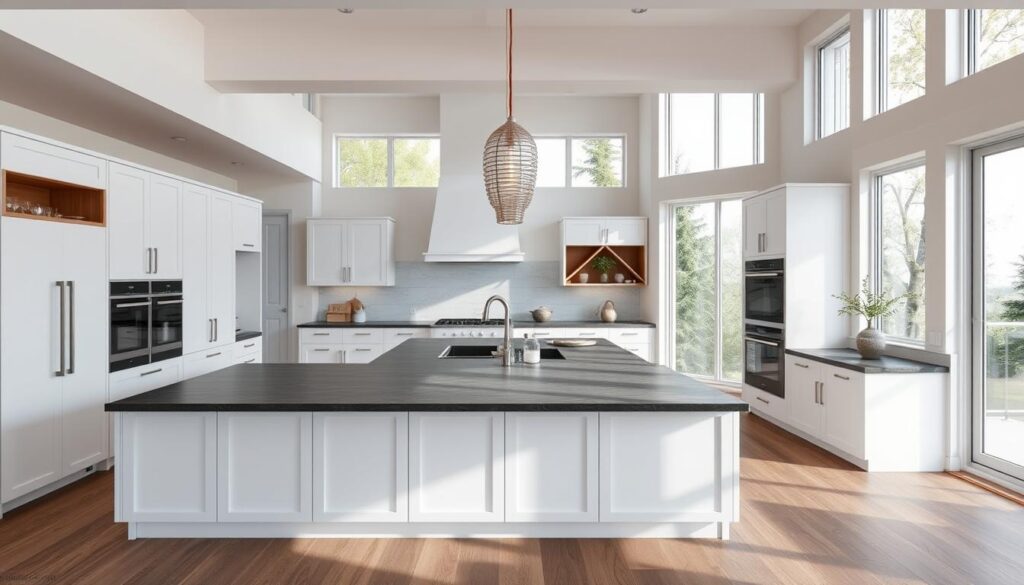
You may want to think about taking down the walls that don’t support any weight, between the kitchen, dining area and living room. This modern design approach is a feature of todays style. Can really change how your 1970s split level home looks and feels. It helps with movement around the house encourages social interaction and lets in more natural light.

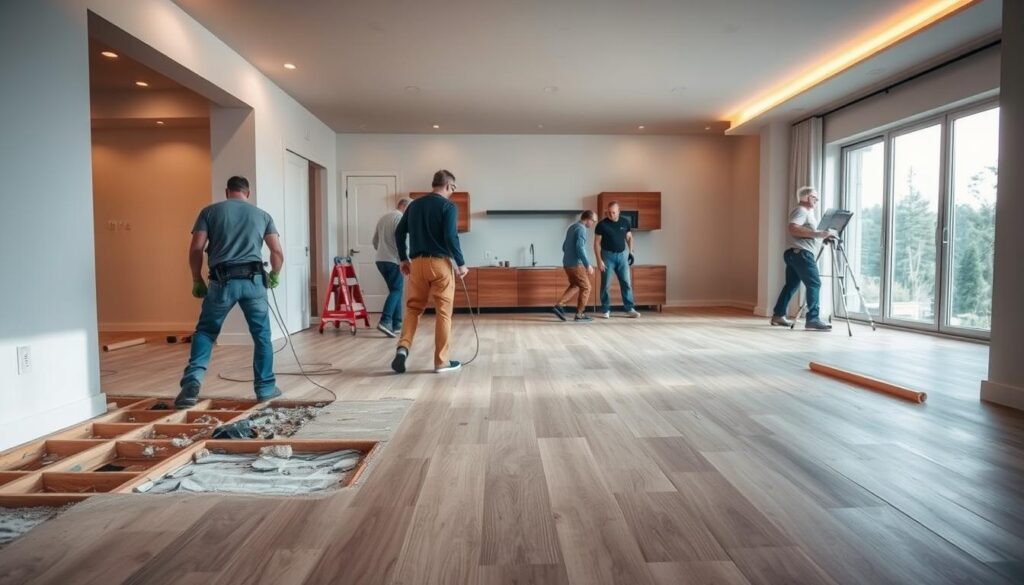
Course if you’re considering making any changes to the structure it’s important to plan carefully with the guidance of experienced professionals. At WellCraft Kitchens, our team of designers and builders can examine your split level home, from the ’70s. Create a renovation plan that enhances your layout while keeping the original character of your house intact.


1970s split level remodel


Updating the Kitchen

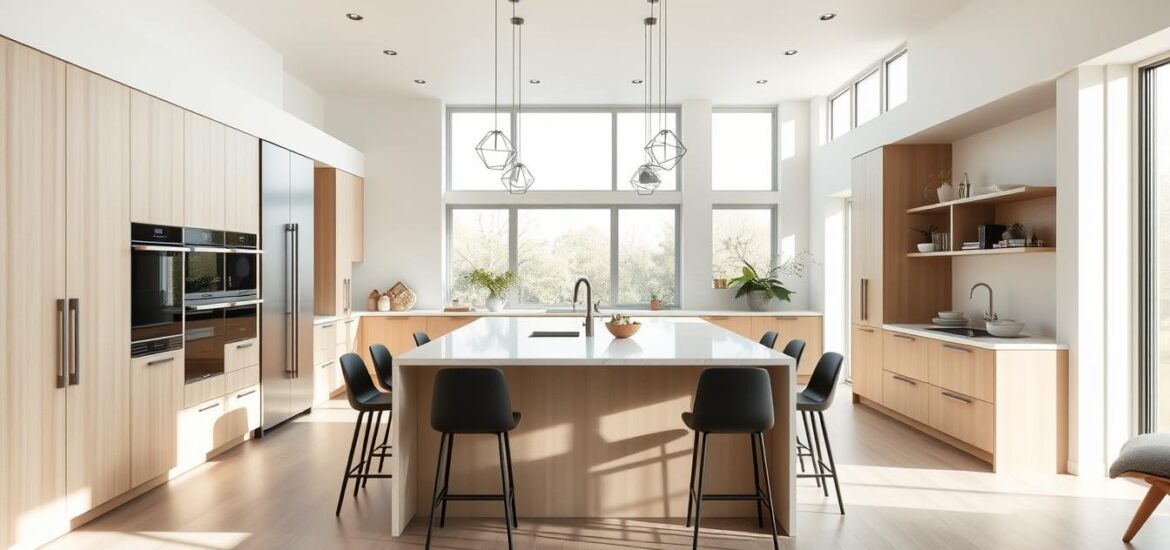
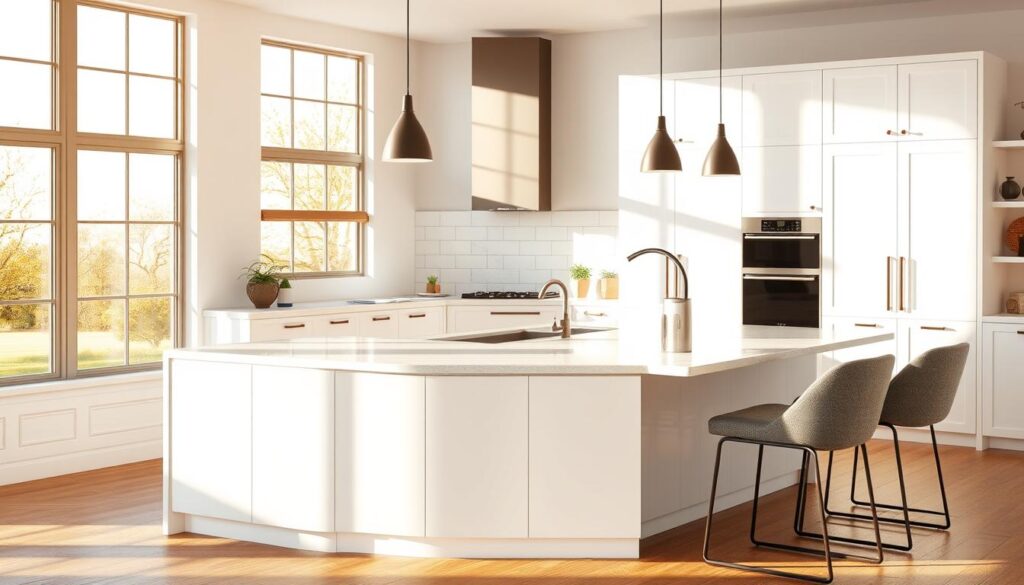
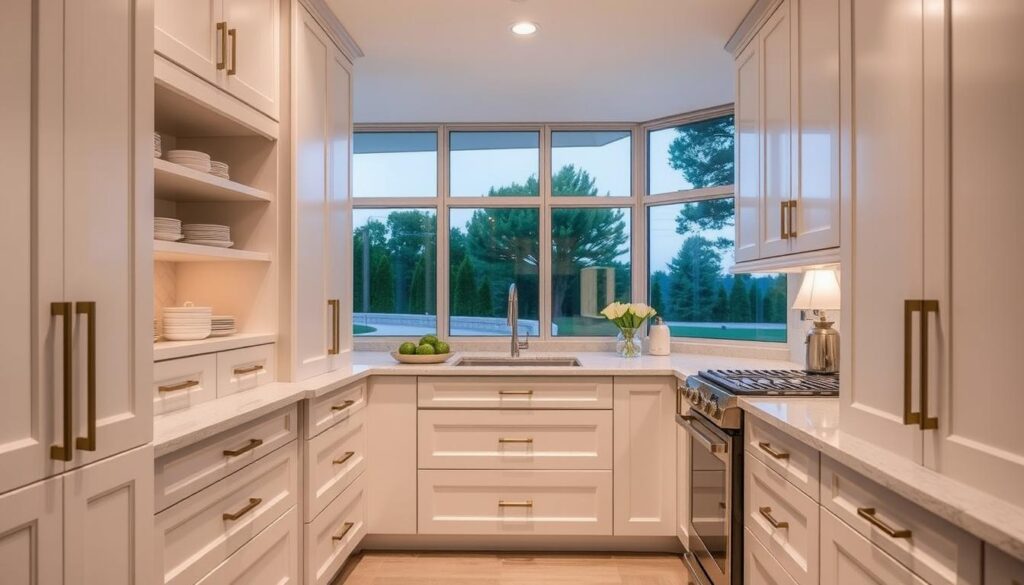
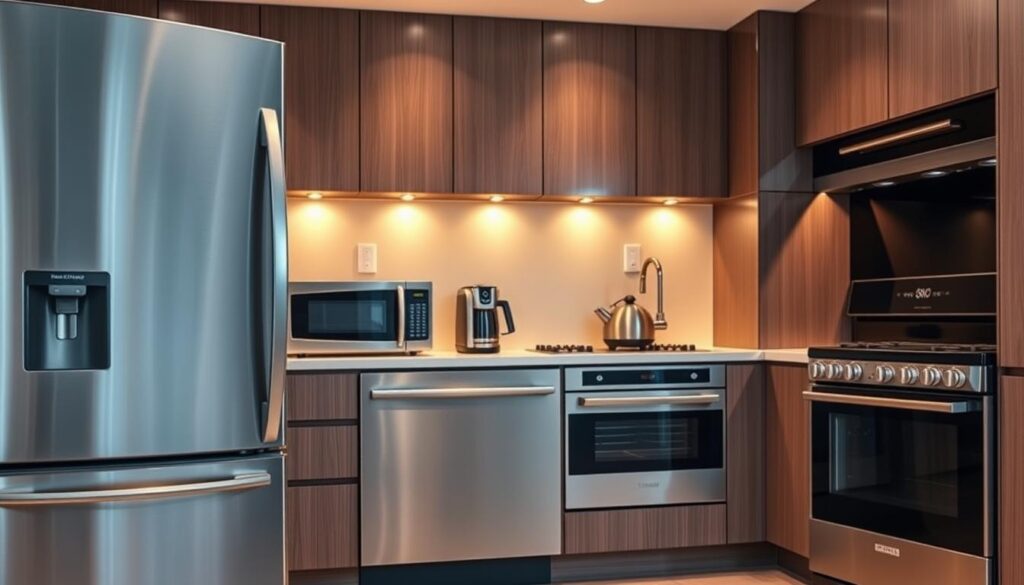
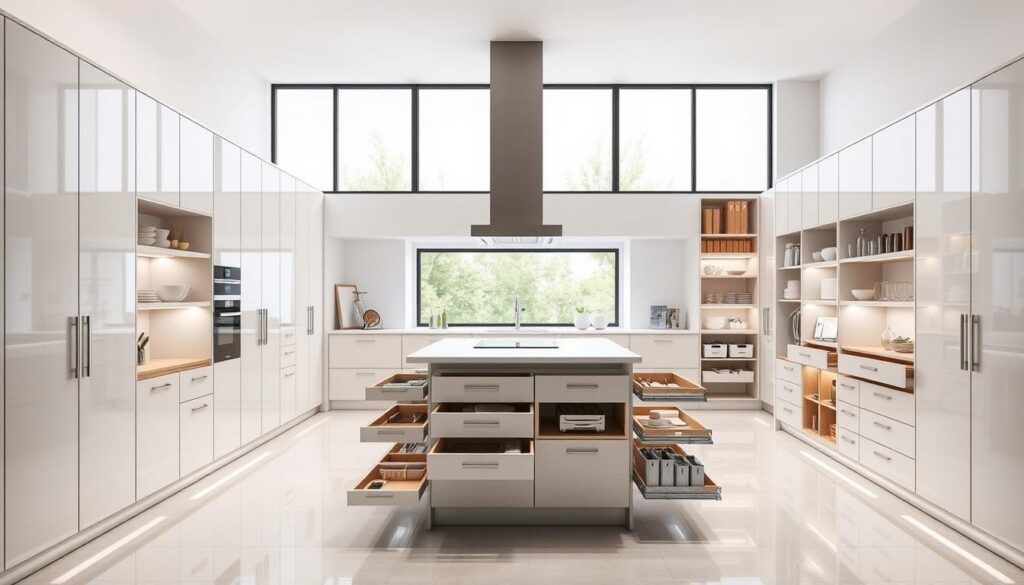
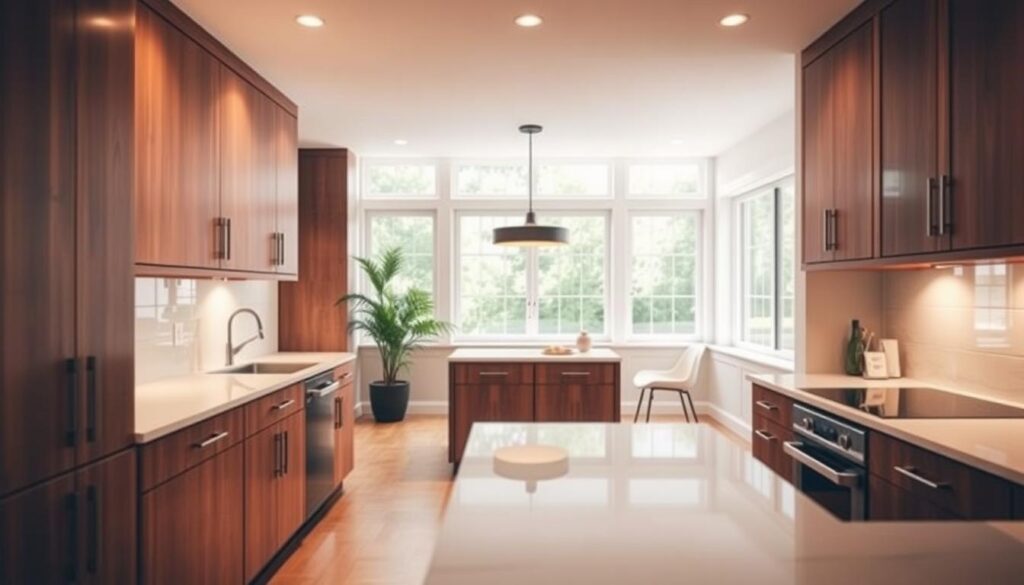
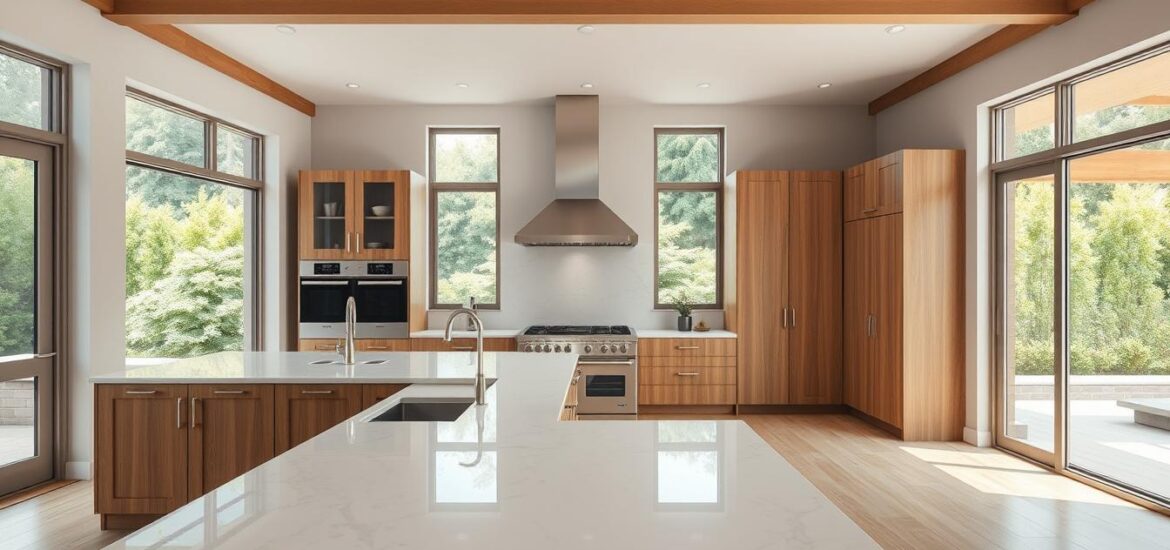
The kitchen is the heart of many homes, and it’s often a top priority in a 1970s split level remodel. Your original 1970s kitchen probably has appliances, worn out cabinets and limited storage. A planned kitchen renovation can enhance both the look and usability of this area.

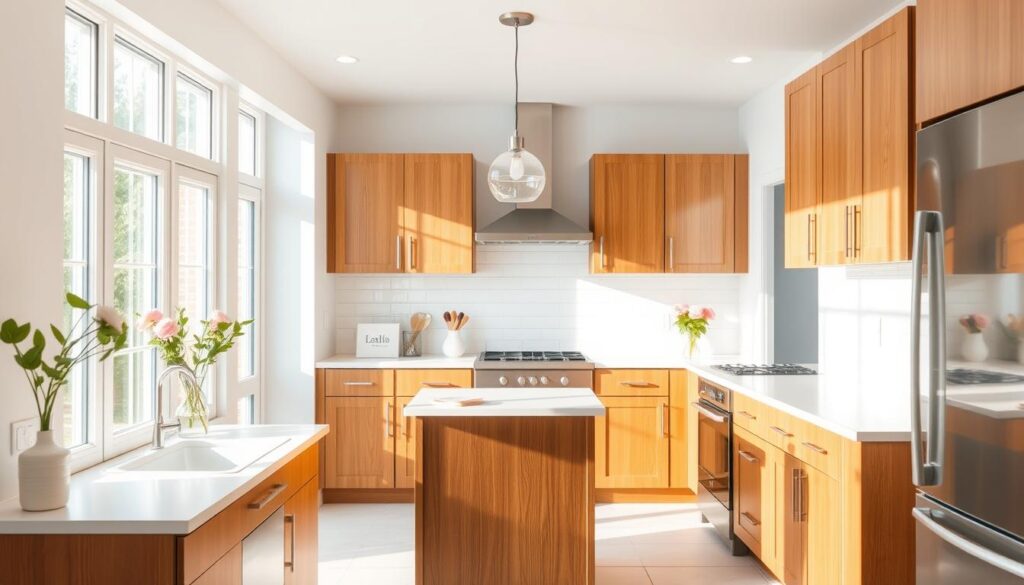
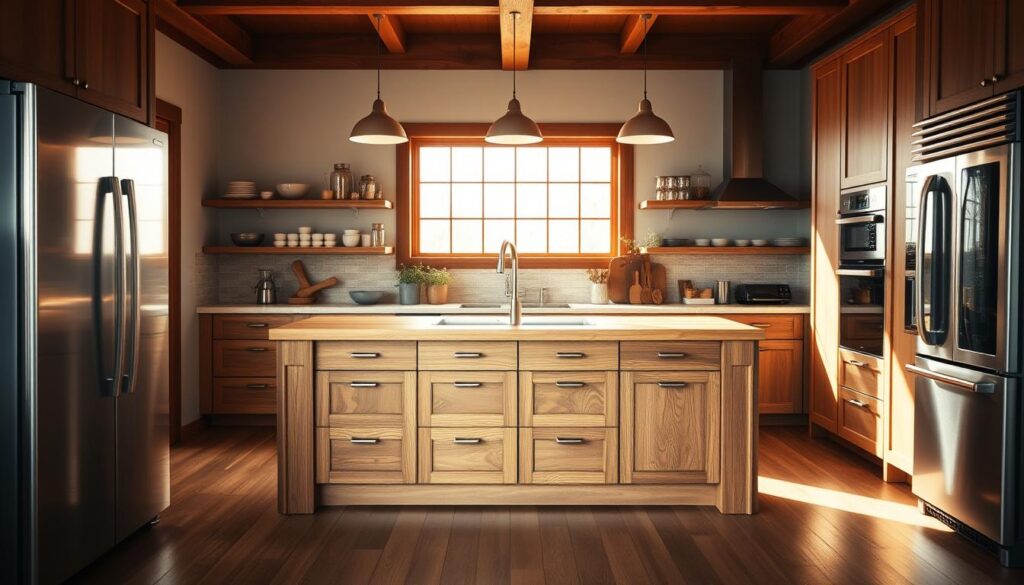
Begin by updating to energy appliances with stylish finishes, like stainless steel or matte black. Then think about swapping out cabinetry for customized designs that optimize storage space and reflect your taste. Popular choices include shaker style cabinets, open shelves and a blend of painted and natural wood textures.

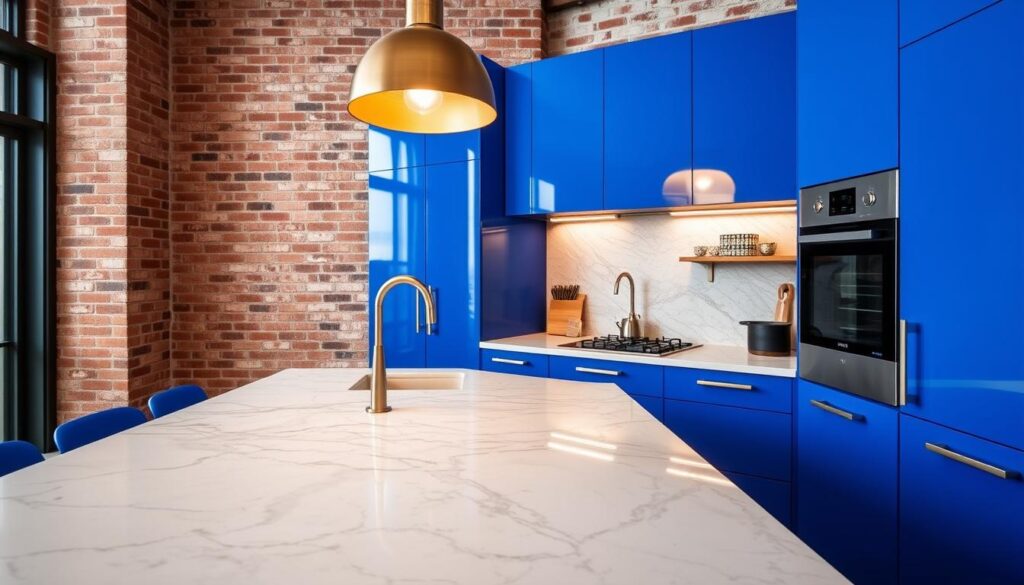
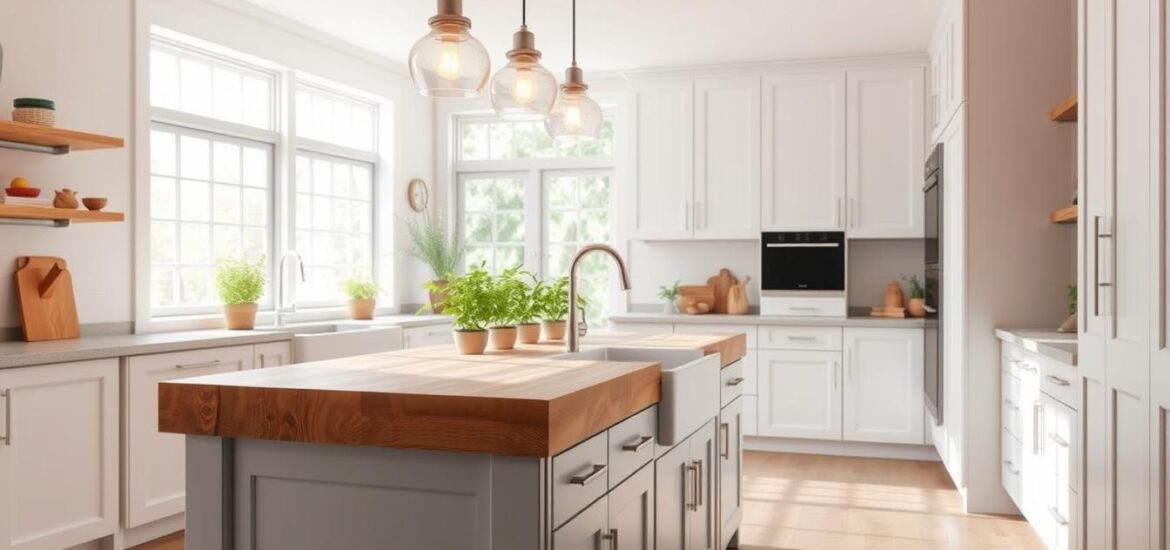
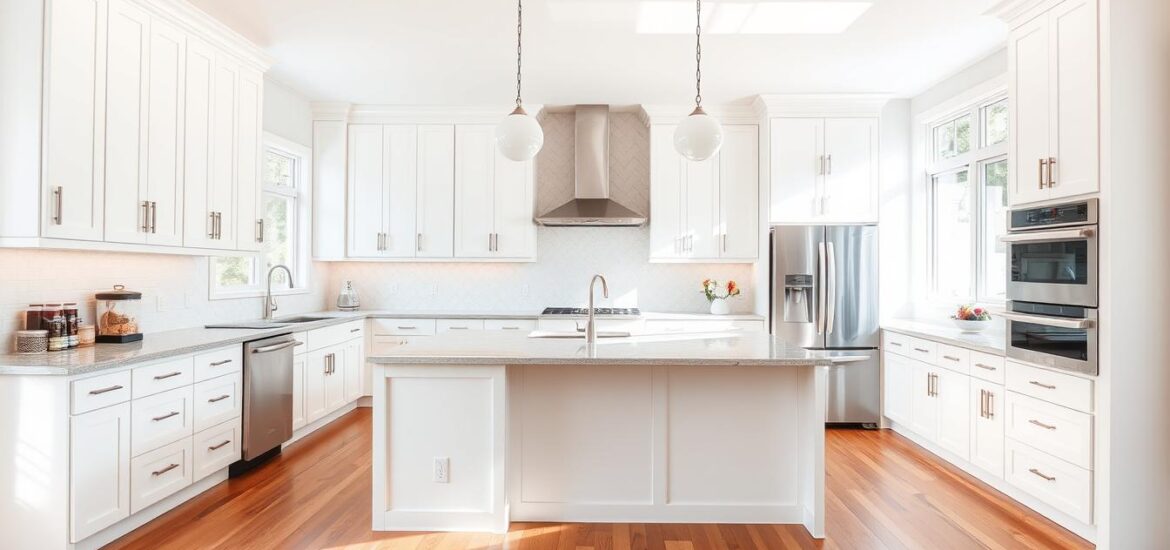
Remember the things! Replacing countertops with trendy materials such as quartz or butcher block can create a significant transformation. Complete the look with a backsplash featuring a fresh tile layout or sleek slab design. Consider adding lighting elements like lights above an island or under cabinet LEDs for both practicality and atmosphere, in your revamped 1970s split level kitchen.


1970s split level remodel 3


Revamping Bathrooms

Many homes built in the 1970s with split level layouts often have outdated bathrooms that’re in need of a makeover. These spaces tend to feel cramped lack storage space and showcase fixtures and finishes that are no longer, in style. A bathroom renovation can significantly enhance both the appeal and functionality of your split level home.

When renovating a master bathroom you might want to consider enlarging the space by taking some footage from a room or closet if feasible. This expansion could create a spa like ambiance incorporating features such as a double vanity freestanding bathtub and spacious walk in shower.

For a hallway or guest bathroom the focus should be on optimizing efficiency and enhancing style within the existing layout. Swapping out a vanity for a floating design can provide more storage while making the room appear larger. Updating worn out tiles with options like large format porcelain or stylish penny rounds can give the space a look, with minimal upkeep required. Upgraded plumbing fixtures, quality lighting and chosen accessories can tie everything together for a rejuvenating mini retreat in your bathroom.


1970s split level remodel 4


Enhancing Curb Appeal

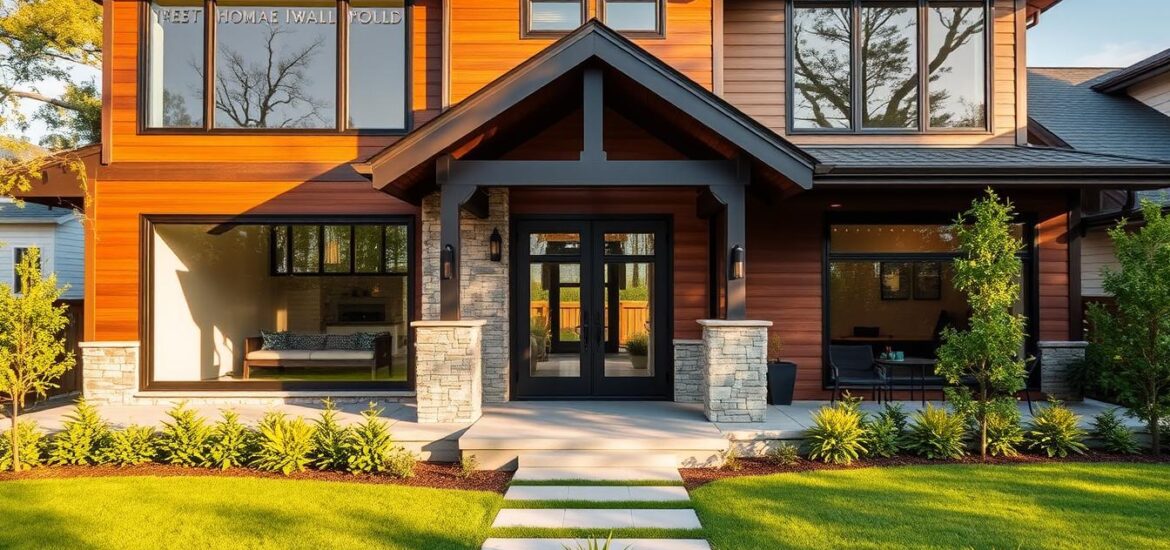
Your 1970s split level remodel shouldn’t stop at the interior! Updating your home’s exterior is a chance to boost curb appeal and fall in love with your split level all over again.

Refreshing the facade with new paint or siding can make a dramatic difference in your home’s overall look. Choose a color palette that complements your home’s architecture and natural surroundings. Adding or enlarging windows can break up the boxy look of some 1970s split level remodel while letting in more natural light.

Remember to pay attention to your landscaping! Pruning unruly bushes, planting flowers and renovating paths and walls can enhance the welcoming and modern ambiance of your space. Think about integrating amenities such, as a deck or patio to increase your living area and establish a smooth transition, between indoor and outdoor areas.


1970s split level remodel 5


Embracing Modern Amenities

A 1970s split level remodel is the perfect opportunity to bring your home up to date with modern amenities and smart home features. These enhancements not enhance your life but also have the potential to boost your homes worth and efficiency.

When renovating your split level home consider incorporating home technology. Popular choices, like thermostats, automated lighting and voice activated speakers can add a sense of connectivity and convenience to your living space.

Improving insulation, windows and HVAC systems can significantly enhance the energy efficiency of your 1970s split level resulting in utility costs and a cozier home environment. Using eco materials and appliances during the renovation process is another way to lessen your footprint while creating a healthier living area.


1970s split level remodel 6


Pulling It All Together

With so many aspects to consider, a 1970s split level remodel can seem overwhelming at first. That’s where a knowledgeable, experienced remodeling partner comes in. At WellCraft Kitchens, we specialize in transforming outdated split levels into beautiful, functional homes that meet the needs of modern families.

Our design-build process ensures a smooth, stress-free remodeling experience from start to finish. We take the time to understand your unique vision, lifestyle, and budget, then develop a customized plan that brings your dream 1970s split level remodel to life.

Our experienced team takes care of every aspect starting from designing the space and choosing materials to carrying out the construction work and adding those touches. We make sure to use top notch materials and state of the art methods to guarantee that your renovated split level home will last for years to come.


1970s split level remodel 7


Get Started on Your 1970s Split Level Remodel

If you’re ready to transform your 1970s split level into a modern masterpiece, the team at WellCraft Kitchens is here to help. With our expertise in 1970s split level remodels, we can guide you through the process with creativity, craftsmanship, and care.

Take the first step by contacting us to schedule a consultation. We’ll listen to your ideas, assess your space, and develop a personalized plan for your 1970s split level remodel. Together, we can create a home that blends the best of your split level’s original charm with today’s style and amenities.

Don’t let an outdated split level hold you back from loving your home. Invest in a thoughtful 1970s split level remodel with WellCraft Kitchens and discover the full potential of your unique space. Let’s work together to create a split level that fits your life, beautifully.

Small Mudroom Bench with Storage

Small Mudroom Bench with Storage: Maximize Space and Style

If you’re looking to maximize space and functionality in your entryway, a small mudroom bench with storage is the perfect solution. Even if your space is limited adding a crafted bench, with concealed storage areas can turn your mudroom into an fashionable area.


How Do You Maximize a Small Mudroom?

When working with a small mudroom, the key is to make smart use of vertical space. Install hooks or a coat rack above your small mudroom bench with storage for hanging jackets, bags, and hats. Consider choosing a bench that comes with drawers or cabinets to hide away any mess. Add a shelf above the bench, for storage, where you can place baskets or decorative items.

WellCraft Kitchens recommends adding a compact mudroom bench with storage complete with pull out drawers for shoe storage. This helps keep your shoes neat and within reach without using up floor space. Use the area under the bench to store items such as sports gear or pet supplies, in baskets or bins.


Small Mudroom Bench with Storage 1


What is The Minimum Width For A Mudroom Bench?

When designing a small mudroom bench with storage, it’s important to consider both functionality and comfort. A bench should have a depth of 14 inches, for a cozy seating experience.. If you’re thinking of adding storage it’s best to go for a depth of 17 inches to fit in baskets or shoes nicely.

When it comes to width a compact mudroom bench, with storage can be as slim as 36 inches. Still provide seating, for two individuals comfortably. If space is limited you might want to think about opting for a corner bench or a narrower single person bench that is 24 inches wide. WellCraft Kitchens can help you determine the ideal dimensions for your small mudroom bench with storage based on your specific space and needs.


Small Mudroom Bench with Storage 2


How Much Does A Custom Mudroom Bench Cost?

The price of a compact mudroom seat, with storage can differ significantly based on the materials, dimensions and personalized features. Typically a tailored mudroom bench may cost from $500 to, over $2000.

However, there are ways to create a stylish and functional small mudroom bench with storage on a budget. WellCraft Kitchens suggests trying do it yourself solutions, like transforming a dresser or bookshelf into a storage bench. Alternatively you could consider purchasing readymade benches or cubbies from home decor stores and personalizing them with paint, updated hardware and cushions that reflect your taste.


Small Mudroom Bench with Storage 3


Does A Mudroom Need A Bench?

While a bench isn’t a necessity in a mudroom, it certainly adds functionality and comfort to the space. A small mudroom bench with storage provides a convenient spot to sit while putting on or taking off shoes. It also offers a place to set down bags or packages while you search for your keys or sort through mail.

Having a bench, in the mudroom not adds a touch of style but also provides a practical spot, for storing jackets and other items. As you plan your mudroom layout with WellCraft Kitchens think about how incorporating a bench can improve both the utility and look of the space.


Small Mudroom Bench with Storage 4


What is The Smallest Size Mudroom?

A mudroom doesn’t have to be a large, dedicated room to be functional. In fact, even the tiniest of spaces can be transformed into an efficient small mudroom with the right design elements.

A small mudroom can be as little as 3 feet wide by 5 feet long, or around 15 square feet. In a space this size, WellCraft Kitchens suggests incorporating a small mudroom bench with storage, wall hooks, and a slim console table or floating shelf for additional storage. One important aspect is to make the most of the space and opt, for furniture items that have functionalities, like a storage bench.


Small Mudroom Bench with Storage 5


Does a Mudroom Add Value?

Having a planned mudroom doesn’t just enhance the practicality of your house. Can also boost its total worth. As, per professionals in the real estate field a mudroom is a sought after attribute that numerous buyers seek, in areas, to harsh weather conditions.

A small mudroom bench with storage can make a significant impact in the overall appeal of your mudroom. Having an area to store jackets and shoes in your home can make a difference, in keeping things tidy and organized. This feature is particularly appealing to families with kids or pets who are looking to buy a house.

When you’re planning the layout of your mudroom with WellCraft Kitchens it’s important to choose lasting materials and finishes that can handle daily use. A designed small bench with storage, in the mudroom can add value when you decide to sell your home.


Small Mudroom Bench with Storage 6


How Narrow Can A Mudroom Be?

When dealing with an area it’s crucial to think outside the box when planning your mudroom layout. Even a small mudroom, measuring 3 feet in width can be practical and efficient, with organization and storage options.

In a narrow mudroom, WellCraft Kitchens recommends installing a small mudroom bench with storage that runs along one wall. Opt for a bench with slim, pull-out drawers or baskets underneath for storing shoes and accessories. Install hooks or a pegboard above the bench for hanging coats and bags vertically.

You might want to think about adding a wall, to wall cabinet on the side for some extra storage thats out of sight. A slim console table could also be handy, for putting down your mail or keys without using up floor space in your tiny mudroom.


Small Mudroom Bench with Storage 8


How Deep is a Bench Seat For A Mudroom?

When designing a small mudroom bench with storage, it’s important to strike a balance between comfort and functionality. A good bench seat should be deep enough to offer a seating area while still leaving room, for storage underneath.

In general its recommended that a bench seat be 14 inches deep for comfort. However if you’re considering adding storage baskets or drawers WellCraft Kitchens suggests opting for a bench with a depth of least 17 inches. This way you’ll have space for both sitting and storing in your mudroom.

Remember that the depth of your mudroom bench with storage can also depend on the size of your space. In a mudroom you might need a bench to ensure there’s enough room, for walking around comfortably.


Small Mudroom Bench with Storage 10


How Much Space Does One Person Need On A Bench?

When designing a small mudroom bench with storage, it’s important to consider how many people will be using the space at once. As a general guideline, plan for at least 18 inches of bench space per person.

If your mudroom is, on the side you might have to think outside the box when it comes to seating. WellCraft Kitchens recommends going for a corner bench or an L shaped bench to fit folks in a space. Another idea is to add a wall mounted down bench that can be stored away when not needed allowing you to make the most of your small mudrooms floor space.

If your family is big or you often have visitors think about adding choices in your mudroom like separate cubbies or an extra bench. WellCraft Kitchens can help you design a small mudroom bench with storage that accommodates your specific needs and maximizes every inch of space.


Small Mudroom Bench with Storage 11


Final Thought

A small mudroom bench with storage is a valuable addition to any home, providing a functional and stylish space for storing outerwear and accessories. By utilizing the space integrating clever storage solutions and selecting versatile furniture items you can craft a compact mudroom that excels in both style and practicality.

WellCraft Kitchens, a top notch company specializing in kitchen and bathroom renovations is ready to assist you in designing a custom small mudroom bench with storage that suits your individual requirements and complements the overall look of your home. With their expertise and meticulous approach you can achieve a mudroom that not enhances the organization of your living space but also boosts the value of your home.

Whether you’re working with a tight corner or a narrow hallway, there are endless possibilities for creating a functional and stylish small mudroom bench with storage. By incorporating the tips and ideas outlined in this article, you can transform even the smallest of spaces into an efficient and inviting entryway. Contact WellCraft Kitchens today to start designing your dream small mudroom bench with storage.

Wooden Bench for Mudroom

Elevate Your Entryway with a Stylish and Functional Wooden Bench for Mudroom

Looking to upgrade your mudroom with a practical and beautiful storage solution? A wooden bench for mudroom is the perfect way to add both style and functionality to this high-traffic area. At WellCraft Kitchens, our expertise lies in crafting personalized mudroom benches that blend harmoniously with your homes style offering storage, for shoes, jackets and daily necessities.


What Wood to Use for Bench Seat

When selecting wood for your wooden bench for mudroom seat, durability and aesthetics are key factors to consider. Oak, maple and cherry are commonly favored for their durability. Appealing grain designs. These sturdy woods can endure the use in a mudroom imparting a cozy and distinctive touch to the area. Pine is another choice if you intend to paint the bench. Yet it’s worth noting that pine, being softer may be prone, to dents and scratches with prolonged use.


Wooden Bench for Mudroom 1


What is the Best Wood for a Bench

The best wood for a wooden bench for mudroom depends on your specific needs and preferences. If you’re looking for a bench that can stand the test of time with upkeep hardwoods are the way to go. Oak is a choice around. It’s sturdy resists moisture well and showcases a lovely grain. Maple is another option, with a fine grain thats perfect, for painted or stained finishes. If you prefer an appearance cherry wood develops a beautiful patina as it gets older. Ultimately the ideal wood choice is one that matches the style of your mudroom and stays within your budget.


How Wide Should a Mudroom Bench Be

When determining the width of your wooden bench for mudroom, consider the available space and how many people will typically be using the bench at once. A helpful tip is to allocate about 18 inches of seat width, for each person. Therefore for a family of four a bench that is 72 inches wide would offer seating. In case your mudroom is compact a bench ranging from 36 to 48 inches, in width might be a fit. Make sure to measure your area and consider any doors, windows or other hindrances that could affect where the bench goes.


Wooden Bench for Mudroom 2


What is the Size of an Entryway Bench?

The size of an entryway wooden bench for mudroom can vary widely depending on the dimensions of your space and your storage needs. When considering the size of a bench apart, from its width as mentioned earlier you should also think about how tall it needs to be. A depth of 14 to 18 inches usually provides seating while a height of 18 to 20 inches is suitable for adults. If you’re thinking of adding storage drawers or cubbies underneath the bench remember to account for depth for those elements. At WellCraft Kitchens we specialize in crafting custom benches, for mudrooms that are tailored to your requirements.

How to Build a Bench for Mudroom

Building a DIY wooden bench for mudroom can be a rewarding weekend project for handy homeowners. Here’s a simple rundown of how to put the bench;

Wooden Bench for Mudroom 3


  1. Cut out two frames from 2×4 lumber to serve as the front and back supports.
  2. Make four legs using 4×4 posts. Attach them to the corners of the frames.
  3. Add 2×4 support pieces, between the back frames for stability.
  4. Trim a sheet of 3/4 inch plywood to fit as the bench seat and screw it onto the frame securely.
  5. Give the bench a sanding before painting or staining it to match your mudroom decor.
  6. Customize your bench with hooks, cubbies or other storage options based on your preferences.


How to Build a Bench Seat for Mudroom

The bench seat is the most important part of your wooden bench for mudroom, as it needs to be sturdy, comfortable, and easy to clean. Here’s how you can make a bench seat;

Wooden Bench for Mudroom 4


  1. Start by cutting a piece of 3/4 inch plywood to the width and depth you want for your bench.
  2. Make sure to sand the plywood to get rid of any edges or splinters.
  3. If you like, cut foam padding to fit and stick it onto the plywood using spray adhesive.
  4. Wrap the foam and plywood, with batting then staple it underneath the seat to hold it in place.
  5. Choose your fabric or leather to cover the batting pulling it tight and stapling it under the plywood.
  6. Securely screw the seat onto your bench frame.
  7. To give it a look consider adding piping or nailhead trim along the edge of the seat. You could also opt for a seat cushion for cleaning or seasonal changes.

For a custom made seat for your mudroom bench that matches your style and requirements perfectly our skilled craftsmen, at WellCraft Kitchens can assist you with that!


How to Build a Mudroom Bench with Drawers

Adding drawers to your wooden bench for mudroom is a great way to maximize storage space and keep smaller items organized. Here’s a guide, on how to include drawers in your bench design;

Wooden Bench for Mudroom 5


  1. Start by following the steps outlined for constructing a bench frame.
  2. Measure the space between the back frame pieces to determine the size of your drawers.
  3. Construct drawer boxes using 1/2 inch plywood or solid wood ensuring a fit within the bench frame.
  4. Attach drawer slides to the sides of the bench frame. Connect them to the drawer boxes.
  5. Customize drawer fronts and hardware that complement your mudrooms aesthetic.
  6. Position the bench seat above the drawers providing clearance, for opening.
  7. If creating drawers from scratch seems daunting consider repurposing made drawers or baskets for your bench frame. For a solution that meets your requirements reach out to WellCraft Kitchens for designing and crafting a wooden mudroom bench with built in drawers tailored just for you.


Wooden Bench for Mudroom Costs

The cost of a wooden bench for mudroom can range widely depending on the materials, size, and features you choose. Creating your wooden bench using pine or other affordable wood materials can range from $100 to $300 while a more elaborate design featuring drawers or custom upholstery could set you back over $1000. Opting for the expertise of professionals, like WellCraft Kitchens to craft a bench may come with a price tag compared to a DIY approach but it guarantees a top notch durable outcome tailored perfectly to your space and preferences. When planning your budget for a mudroom bench view it as an investment that enhances both the functionality and visual charm of your homes entryway.


Wooden Bench for Mudroom Benefits

Incorporating a wooden bench for mudroom into your home offers numerous benefits, both practical and stylistic:

Wooden Bench for Mudroom 6


  • Seating; A bench offers a place to sit down while getting ready in the morning or winding down after work adding a touch of comfort to your routine.
  • Storage; Whether its drawers, compartments or bins a wooden bench, in the mudroom provides space to store shoes, bags, hats, gloves and other essentials keeping your entryway neat and organized.
  • Durability; When crafted with notch materials and construction methods a wooden bench can withstand use and remain sturdy for years to come.
  • Style; A crafted wooden mudroom bench can become a focal point in your entryway bringing together the overall decor and leaving a positive impression on visitors.
  • Versatility; Wooden benches come in styles ranging from farmhouse designs to contemporary sleek looks allowing you to choose one that complements your homes unique style effortlessly.
  • Organization; By assigning storage areas, for each family member a mudroom bench helps maintain orderliness. Makes it simple for everyone to grab what they need before stepping out.

At WellCraft Kitchens, we understand the many benefits a wooden bench for mudroom can provide, and we’re dedicated to creating custom solutions that meet all of your entryway needs. If you need a bench or a more intricate design, with ample storage choices our team is capable of creating and constructing a wooden bench for your mudroom that will surpass your hopes.


Wooden Bench for Mudroom 7


Final Thought

A wooden bench for mudroom is a stylish and practical addition to any home’s entryway. When thinking about the type of wood, size and storage possibilities you have the chance to craft a bench that fits your requirements and matches your style. Whether you opt to construct the bench on your own or enlist the services of a team, like WellCraft Kitchens investing in a notch wooden bench for your mudroom will prove beneficial in terms of both utility and visual charm for years to come. With some planning and imagination you can turn your mudroom into a welcoming area that makes returning home a delightful experience.

Butcher Block Countertop with Backsplashes

Butcher Block Tops & Backsplashes – Warm & Stylish

Are you dreaming of a warm, inviting kitchen that feels like the heart of your home? Look no further than the classic combo of a butcher block countertop with backsplash. At WellCraft Kitchens we adore assisting homeowners in crafting their dream kitchen by incorporating the timeless duo of butcher block countertops and backsplashes. These elements effortlessly blend charm, a feel and practicality, into any kitchen design adding a touch of character and warmth, to the space.


Why Choose a Butcher Block Countertop with Backsplash?

Butcher Block Countertop with Backsplashes 1


There are so many reasons to go for a butcher block countertop with backsplash in your kitchen reno. The warm natural wood tones instantly create an inviting atmosphere, in your kitchen unlike the feel of materials like stone or stainless steel. It adds a sense of homeliness that makes the space feel more lived in and welcoming.

Moreover a butcher block countertop is highly practical. You can easily. Prepare food directly on its surface without damaging your knives providing a workspace. As time passes it develops a patina that reflects the meals and memories shared in your kitchen.

Pairing a butcher block countertop with a backsplash, in a material, color or design brings everything together cohesively while safeguarding your walls from spills and moisture during cooking. A butcher block countertop with backsplash is the ideal blend of style and practical function.


Choosing the Right Butcher Block Countertop

When selecting a butcher block countertop, you have a few key options to consider:


Butcher Block Countertop with Backsplashes 2


Wood Type – Butcher block countertops are available in a variety of wood species like maple, oak, walnut, cherry, and more. Each has its own distinct grain pattern and color. Maple is a popular choice for its durability and neutral tones.

Construction – You have the option to choose between edge grain end grain or wide plank styles that each display the wood grain in ways. Edge grain features lines while end grain creates a checkerboard appearance. Wide plank emphasizes the variations, in the woods grain.

Thickness – Standard butcher block countertop thicknesses range from 1.5″ to 12″. A thicker slab creates a sturdier feel and allows for re-sanding down the road.

Finish – To keep your butcher block countertops in condition it’s important to seal them to prevent moisture and stains. You have the option of using a food oil finish to enrich the woods grain or a hardwax oil, for a smoother less shiny appearance.

At WellCraft Kitchens, we guide you through the selection process to find the perfect butcher block countertop to fit your kitchen’s style, needs and budget.


What Backsplash Goes With A Butcher Block Countertop?

Many backsplash options beautifully complement a butcher block countertop with backsplash. The timeless white subway tile lights up the room and a shiplap backsplash gives it a charming farmhouse feel.

Playful interest is added with tiles, in hues or geometric patterns paired with a butcher block countertop featuring a backsplash. Penny rounds help soften the edges of the butcher block while a brick backsplash introduces texture. For a touch consider pairing your butcher block countertop with backsplash, with marble or granite.


Butcher Block Countertop with Backsplashes 3


Can You Put Hot Dishes On Butcher Block Countertops?

Although a butcher block countertop with backsplash is heat-resistant, it’s best to avoid placing scorching pots or pans directly on the surface. High temperatures could lead to cracks, warping or color changes, in the run despite having a backsplash. It’s important to use trivets or hot pads to preserve the charm and sturdiness of your butcher block countertop with a backsplash.


Is Butcher Block Recommended For Countertops?

Butcher block countertops, with integrated backsplashes come highly recommended for kitchens. They bring a sense of coziness, charm and practicality to the point of your household. A butcher block countertop with a built in backsplash offers a surface, for food preparation. Helps safeguard your walls from splashes and stains. With proper care, a quality butcher block countertop with backsplash can last for decades, developing a rich patina that tells your kitchen’s story.


Butcher Block Countertop with Backsplashes


Should Countertops Have A Backsplash?

Yes, it’s highly recommended to include a backsplash with your countertops, especially a butcher block countertop. A butcher block countertop with backsplash protects your walls from cooking splatters, moisture, and daily wear. Enhancing the appearance and adding a touch using colors, patterns and textures on your butcher block countertop can help customize the design of your kitchen.


Should Countertop Be Lighter Or Darker Than Backsplash?

The choice between a lighter or darker backsplash with your butcher block countertop depends on your personal style and the overall look you want to achieve in your kitchen. A lighter backsplash, such as white subway tile or pale mosaic, will brighten the space and create a crisp contrast against a rich butcher block countertop with backsplash.

For a look you can opt for a backsplash such, as deep green penny rounds or charcoal brick to create depth and drama. Pair it with a butcher block countertop to achieve a design that complements your kitchens lighting, cabinetry colors and the undertones of the butcher block.


Butcher Block Countertop with Backsplashes 5


Which Goes First Countertop Or Backsplash?

When installing a butcher block countertop with backsplash, it’s generally recommended to install the countertop first, followed by the backsplash. The backsplash tiles can be placed directly against the butcher block countertop ensuring a connection and safeguarding the wall from gaps or moisture. By installing the backsplash after the butcher block countertop you achieve a look. Have flexibility, for making tailored cuts to fit outlets, switches or the curves of your countertop.


What Not To Put On Butcher Block Countertops?

To maintain the beauty and durability of your butcher block countertop with backsplash, there are a few things to avoid placing on the surface. Avoid placing pots, pans and appliances on your butcher block countertop to prevent cracking or warping due, to high temperatures even if you have a protective backsplash. Always remember to use trivets or hot pads.

Stay away from cleaning agents like bleach or ammonia based cleaners as they can harm the woods oils and ruin the finish. Instead opt for pH cleaners specifically made for wooden surfaces.. Remember, while a butcher block countertop is great, for food preparation it’s best to avoid cutting on it to keep it scratch free and maintain a smooth surface.


Butcher Block Countertop with Backsplashes 6


Are Butcher Block Countertops Outdated?

Butcher block countertops, with backsplashes are definitely not, out of style. In fact they’ve made a comeback in years because of their appeal cozy feel and usefulness. A butcher block countertop with backsplash adds a cozy, inviting feel to any kitchen and pairs beautifully with a wide range of design styles, from farmhouse and rustic to modern and industrial.

Over the years the wooden surface of your kitchen countertop gains a charm reflecting the memories of meals cooked and shared. By taking care of it a butcher block countertop, with a backsplash remains a timeless and elegant option that never goes out of fashion.


What is The Life Expectancy Of A Butcher Block Countertop?

With proper care and maintenance, a high-quality butcher block countertop with backsplash can last for decades, making it a worthwhile investment in your kitchen. The lifespan of a butcher block countertop can vary based on factors such, as the type of wood used how well its built and the maintenance it receives.

Hardwoods like maple, oak and walnut are choices due, to their durability often lasting for 20 years or more when regularly oiled and cared for properly. By protecting the countertop from heat, moisture and scratches with a backsplash and daily upkeep you can help prolong its life. Many homeowners come to treasure their butcher block countertops with backsplashes as they age gracefully and add charm to their kitchens over the years.


Butcher Block Countertop with Backsplashes 7


Get Expert Help with Your Butcher Block Countertop

Feeling inspired to add a butcher block countertop with backsplash to your kitchen? The WellCraft Kitchens team is available to assist you! We focus on enhancing kitchens through the use of elements, expert workmanship and practical layouts.

Arrange a meeting, with one of our kitchen designers to kick off the process of designing your butcher block countertop with a matching backsplash. We’ll guide you in choosing the materials, finishes and backsplash combination to bring your kitchen vision to life.

Let’s work together to bring the warmth and charm of a beautiful butcher block countertop to your kitchen. Contact WellCraft Kitchens today to get started!

The Pros and Cons of Choosing a Rectangular Drop In Bathroom Sink

Pros & Cons of Rectangular Drop-In Bathroom Sinks

If you’re in the market for a new bathroom sink, you’ve probably come across the terms “undermount” and “drop-in” sinks. While undermount sinks have become increasingly popular in recent years for their sleek, seamless look, rectangular drop in bathroom sinks remain a classic, versatile choice. At WellCraft Kitchens we’re available to guide you through the advantages and disadvantages of choosing a drop in bathroom sink for your bathroom renovation.


What is a Drop-In Sink?

The Pros and Cons of Choosing a Rectangular Drop In Bathroom Sink 9


First, let’s define what we mean by a “drop-in” sink. A rectangular drop in bathroom sink, also known as a self-rimming or top-mount sink, is a sink that is installed by placing it into a pre-cut hole in the countertop. The edge or lip of the sink sits on the counter to hold up the sink. This is different, from an undermount sink that is installed beneath the counter to create a transition between the counter and sink.

Drop in sinks are made in materials like steel, porcelain and composite and they come in various shapes. Nevertheless the traditional rectangular drop in bathroom sink continues to be a favored option, for its design and spacious basin.


Advantages of a Rectangular Drop In Bathroom Sink


The Pros and Cons of Choosing a Rectangular Drop In Bathroom Sink 2


Easy Installation

One of the biggest advantages of choosing a rectangular drop in bathroom sink is the ease of installation. Drop in sinks are easier to install compared to undermount sinks that need clips and precise measurements. Installing a drop in bathroom sink can be a do it yourself task, for individuals, with basic plumbing skills and tools.

To install a rectangular drop in bathroom sink, you simply need to cut a hole in your countertop material that is slightly smaller than the outer dimensions of your sink. When installing the sink carefully lower it, into position ensuring that the edges rest on the counter surrounding the opening. Use clips or mounting hardware to secure the sink in place before connecting the faucet and drain.

For those considering a bathroom renovation we at WellCraft Kitchens advise seeking guidance from a professional if you feel uncertain about undertaking the project. The straightforward installation process of a drop in bathroom sink as opposed to sink designs is often an attractive feature, for numerous homeowners.


The Pros and Cons of Choosing a Rectangular Drop In Bathroom Sink 8


Versatile Countertop Compatibility

Another benefit of opting for a rectangular drop in bathroom sink is the versatility it offers when it comes to countertop materials. When the sink is placed on the counter of being installed you have the flexibility to select your preferred countertop material.

Having an undermount sink restricts your choices for countertops since the material must be waterproof and sturdy enough to bear the sinks weight without a supporting rim. This typically means opting for a surface, like stone or quartz.

However, with a rectangular drop in bathroom sink, you can opt for a wider variety of countertop materials, including laminate, tile, and wood in addition to natural stone and solid surface options. This flexibility allows you to choose a countertop that fits your aesthetic preferences and budget without worrying about compatibility issues.


The Pros and Cons of Choosing a Rectangular Drop In Bathroom Sink 7


Cost-Effective

Speaking of budget, rectangular drop in bathroom sinks are often a more cost-effective option compared to undermount sinks. Installing a process can lead to reduced labor expenses and drop in sinks are usually more budget friendly compared to options.

Here, at WellCraft Kitchens we take pride in collaborating with our customers to discover solutions that align with their design preferences and financial constraints. Opting for a drop in bathroom sink could be a decision, for individuals seeking a bathroom upgrade without overspending.


Disadvantages of a Rectangular Drop In Bathroom Sink


The Pros and Cons of Choosing a Rectangular Drop In Bathroom Sink 3


Visible Rim and Reduced Counterspace

While rectangular drop in bathroom sinks offer several advantages, there are a few potential drawbacks to consider as well. One drawback to note is the edge that sits atop the countertop. This ridge may disrupt the look of your countertop. Form a visual separation, between the sink and the counter.

Moreover since the sink rim sits on top of the counter, a rectangular drop in bathroom sink will occupy a bit space than an undermount sink of similar dimensions. This is a factor to keep in mind for bathrooms, with counter space.


The Pros and Cons of Choosing a Rectangular Drop In Bathroom Sink 5


More Difficult to Clean

Another potential downside of rectangular drop in bathroom sinks is that they can be more difficult to keep clean compared to undermount sinks. An undermount sink allows you to effortlessly wipe away water and debris into the sink without any obstacles.

On the hand a rectangular drop in bathroom sink may gather dirt along its lip. Rim, requiring more effort to keep it clean. It’s important to clean the space, between the sink and the counter to avoid any buildup.


The Pros and Cons of Choosing a Rectangular Drop In Bathroom Sink


Limited Design Flexibility

Finally, while rectangular drop in bathroom sinks are a classic and versatile choice, they may offer less design flexibility compared to undermount sinks. The visible edge of a drop in sink might restrict the design possibilities, for achieving an minimalist style in your bathroom.

Opting for an undermount sink can offer a flow from the countertop to the sink resulting in an up to date appearance that appeals to many homeowners. The absence of a boundary also makes undermount sinks a favored option, for highlighting countertop patterns or materials.


Final Thought

The Pros and Cons of Choosing a Rectangular Drop In Bathroom Sink 4


Rectangular drop in bathroom sinks offer several compelling benefits, including ease of installation, versatile countertop compatibility, and cost-effectiveness. Nevertheless it’s crucial to take into account the downsides like the edge less available counter space cleaning difficulties and restricted design adaptability.

Here, at WellCraft Kitchens we recognize that each bathroom renovation is one of a kind and selecting the appropriate sink hinges on your requirements, tastes and financial plan. If a rectangular drop in bathroom sink is on your radar for your endeavor we recommend paying a visit to our showroom to discover the array of choices available and have a chat, with our design team.

With our expertise and commitment to craftsmanship, WellCraft Kitchens can help you create the bathroom of your dreams, whether you opt for a classic rectangular drop in bathroom sink or a sleek undermount option. Contact us today to start bringing your vision to life.